


- Halloween Eyes Boo Wreath
Here we are for our first “Try it Tuesday”. Halloween was getting close and Tabitha and I wanted to do some sort of wreath for our front doors. After looking around on Pinterest I found one I thought was perfect. To see instructions for the original wreath that inspired me, please see here .
Here’s what you’ll need:
- Pool noodle (Dollar Tree, or use one you already have)
- Googly eyes – black & white ones are cheap at the Dollar Tree, but the ones with the colored eyes at Micheals add some color and are also really cool.
- Glue gun & glue sticks
- Duct tape
- Fabric (light colored or black, depending on the background color you want your wreath) – we used old sheet and a t-shirt
- Ribbon- used to hang the wreath
- Wooden Letters that spell “BOO” (painted with the desired color, suggest black, white, orange or purple, depending on the color of your door)
- 100-120 ping pong balls (Dollar Tree or Walmart)
- Plastic spiders, or other small misc “scary” decorations of your choosing
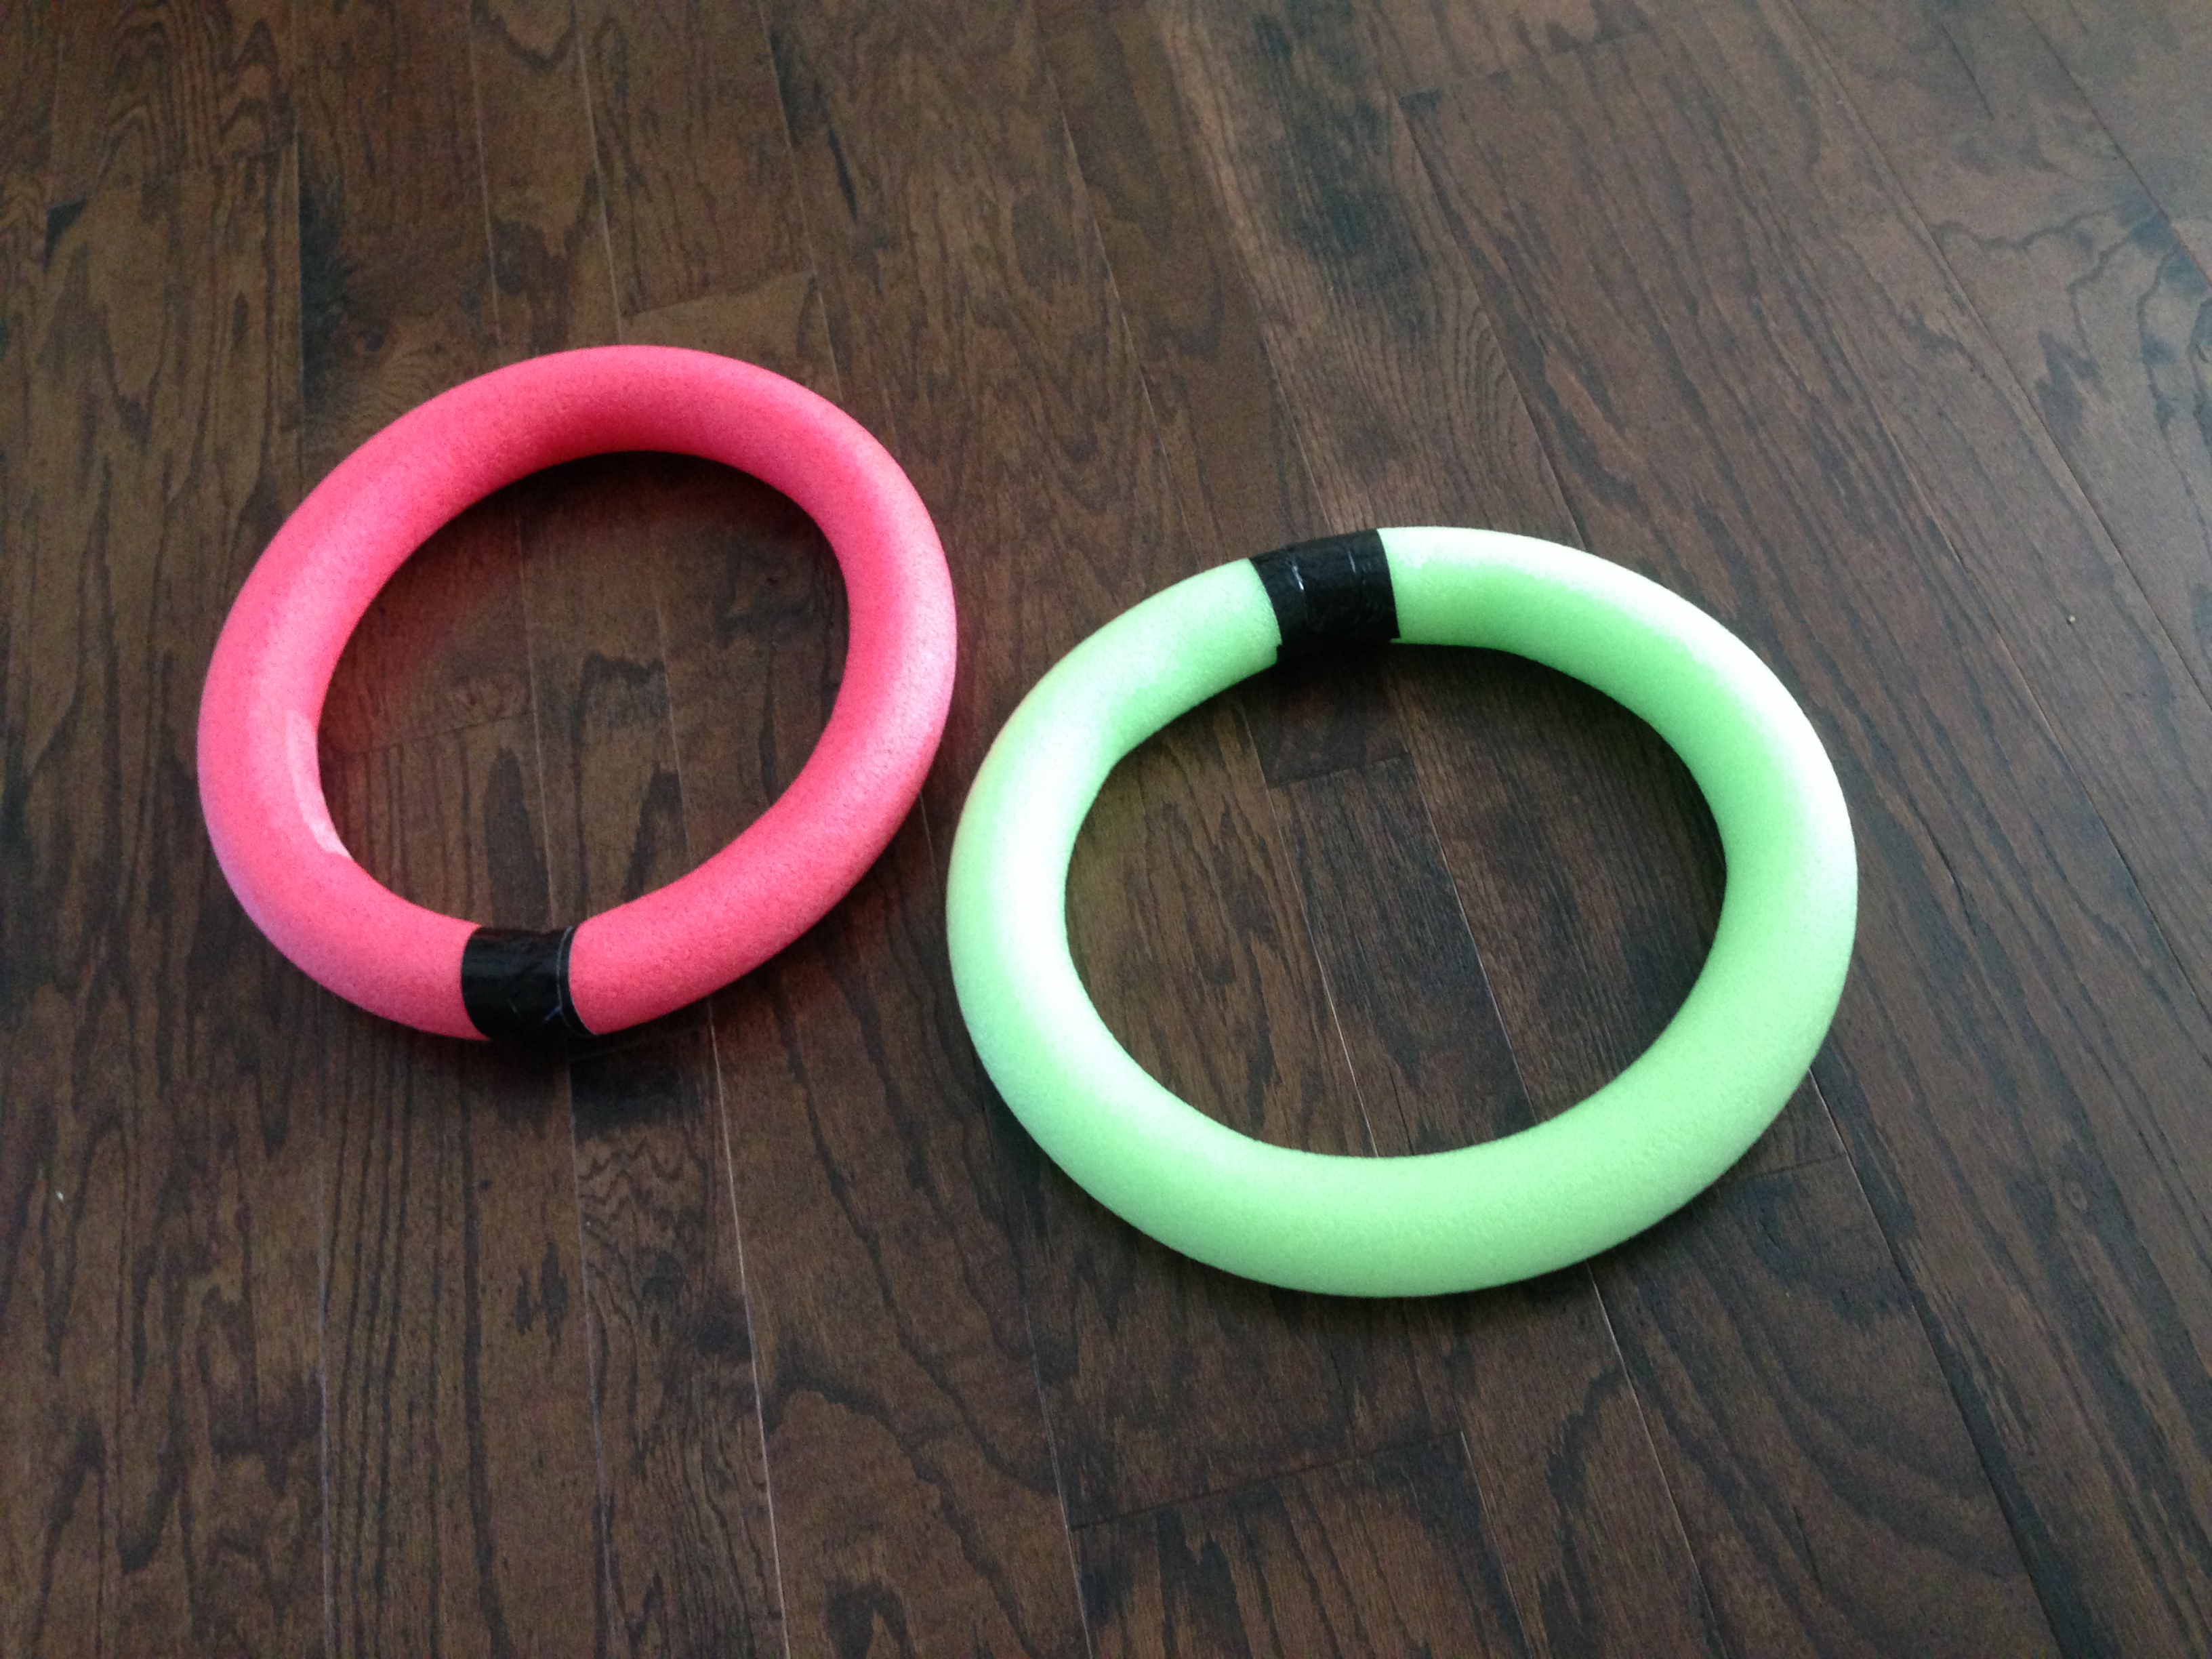
Okay, so the first step is to take your pool noodle and make your wreath. You could use any old wreath you had hanging around, but since we were going for cheap on this one we went with the noodles.
Then we duct taped them together. NOTE: make sure you duct tape them very well……overdo it here. We made the mistake of only taping around once and thewreath started to come apart mid-project….not cool.
Once you have your circle, just wrap the noodle with the fabric that you want to use in order to cover up the noodle and give the eyeballs something adhere to. I used an old sheet that I had ripped into strips for another project and Tabitha used an old black T-shirt of her husbands (ooh busted).

Next comes the fun part…….glue gun. Anyone who has crafted with me (which is basically only Tabitha and Cella at this point) knows that I love my glue gun. Maybe a little too much. I tend to go a little crazy with the glue, but you really only need a little to get the ping pong balls to stick. Once dried, those suckers are really hard to remove (believe me, I tried to pull a couple off to reposition them around and it was not happening).

Just start positioning the balls around the wreath, it doesn’t really matter where you start. They don’t need to be touching, just close to each other.
At this point you should also put a dab of glue where you want to put the ribbon that the wreath will hang from. I suggest the opposite side from where the duct taped ends are.
You can also go ahead and position your “BOO” letters. If you do this before you have glued all of the balls into place it will save you ping pong balls and allow you to place more balls in other places…..believe me, you’ll see what I mean.
We put our “BOO” across the middle of the wreath, but you could put them down either side or across the top, whatever strikes your fancy.
Ok, now that you’ve got all your balls glued on (he he, that sounds kinda weird), it is time to glue on the eyes. Once again, just the tiniest dab of glue will do. You really don’t need a glue gun here. I am sure Elmer’s glue would work great here and this is the perfect time in the craft for a kid to come help.
Tabitha chose to stick with the same size googly eyes on all of the balls on her wreath and on mine I just didn’t care. Big, little, colored, no matter, the choice is yours and I think both options look great.
Below are the final pictures of the wreaths.
Total cost for each came in at approximately $16. $1 Pool noodle, $11 worth of Dollar Tree ping pong balls, $2 eyeballs (with a coupon at Micheals), and $2 wooden letters at Hobby Lobby when 30% off. The whole thing can be done in about 1-2 hours depending on how much kid interference/help you have.
In the end, I think I prefer Tabitha’s. I like the black background, but that’s just me.


What do you think of our first “Try it Tuesday” craft? Would you make one? Would you hang one on your door? Let us know what you think and if you decide to make one yourself. We would love to see it and any changes you come up with.
Thanks for stopping by!

I made one of these just yesterday! Dollar Tree had ping pong balls with eyes painted on them! (I also found googly eyes that were colored!)
Yay! I hope that you love it as much as I do! I might be making another one since we moved to a house with double doors and it looks funny to just have one wreath hanging. I’ll have to check out the ping pong balls with eyes already on them, how cool.
Pingback: 13 Stunning Outdoor Halloween Decorations DIY Ideas
Love this idea excited to try it out with my boys
Pingback: 30 Cute DIY Halloween Wreaths | Guide Patterns