In a previous “Try it Tuesday”, Tabitha and I made our Christmas paper trees and had decided that we needed a third in order to keep the rule of three in sync (see Paper Christmas Trees post). Tabitha looked around on Pinterest and found a tutorial for a tall burlap tree to finish off her trio. I was behind in the game and wasn’t sure what I was going to do…da….da….da…..the pressure.
Then, I saw a scalloped burlap tree with glitter at Target that caught my eye, but I didn’t want to pay the $15 dollar price tag. I figured if I waited until it went on sale it might be gone so I decided to make my own. What I really liked about it was the glitter. Everything should have some glitter on it, especially during the holidays!
The problem was I had about ten projects I needed to get done and the idea of being really precise and doing a fancy scalloped pattern with glitter didn’t appeal to me. Sooo, I went a different route.
To do this project you will need:
Glitter glue (whatever color you want, I used gold)
Burlap (1/2 yard should be plenty, it really depends on what size you make your cone). I used the burlap that you find in the garden section of home improvement stores that is used for bedding. It comes in a big roll and was only $10 bucks, but any burlap should work.
Posterboard or a purchased craft cone
Glue gun
Scissors
Spray paint in beige, gold, or brown. Basically any color that will cover up the bright white.
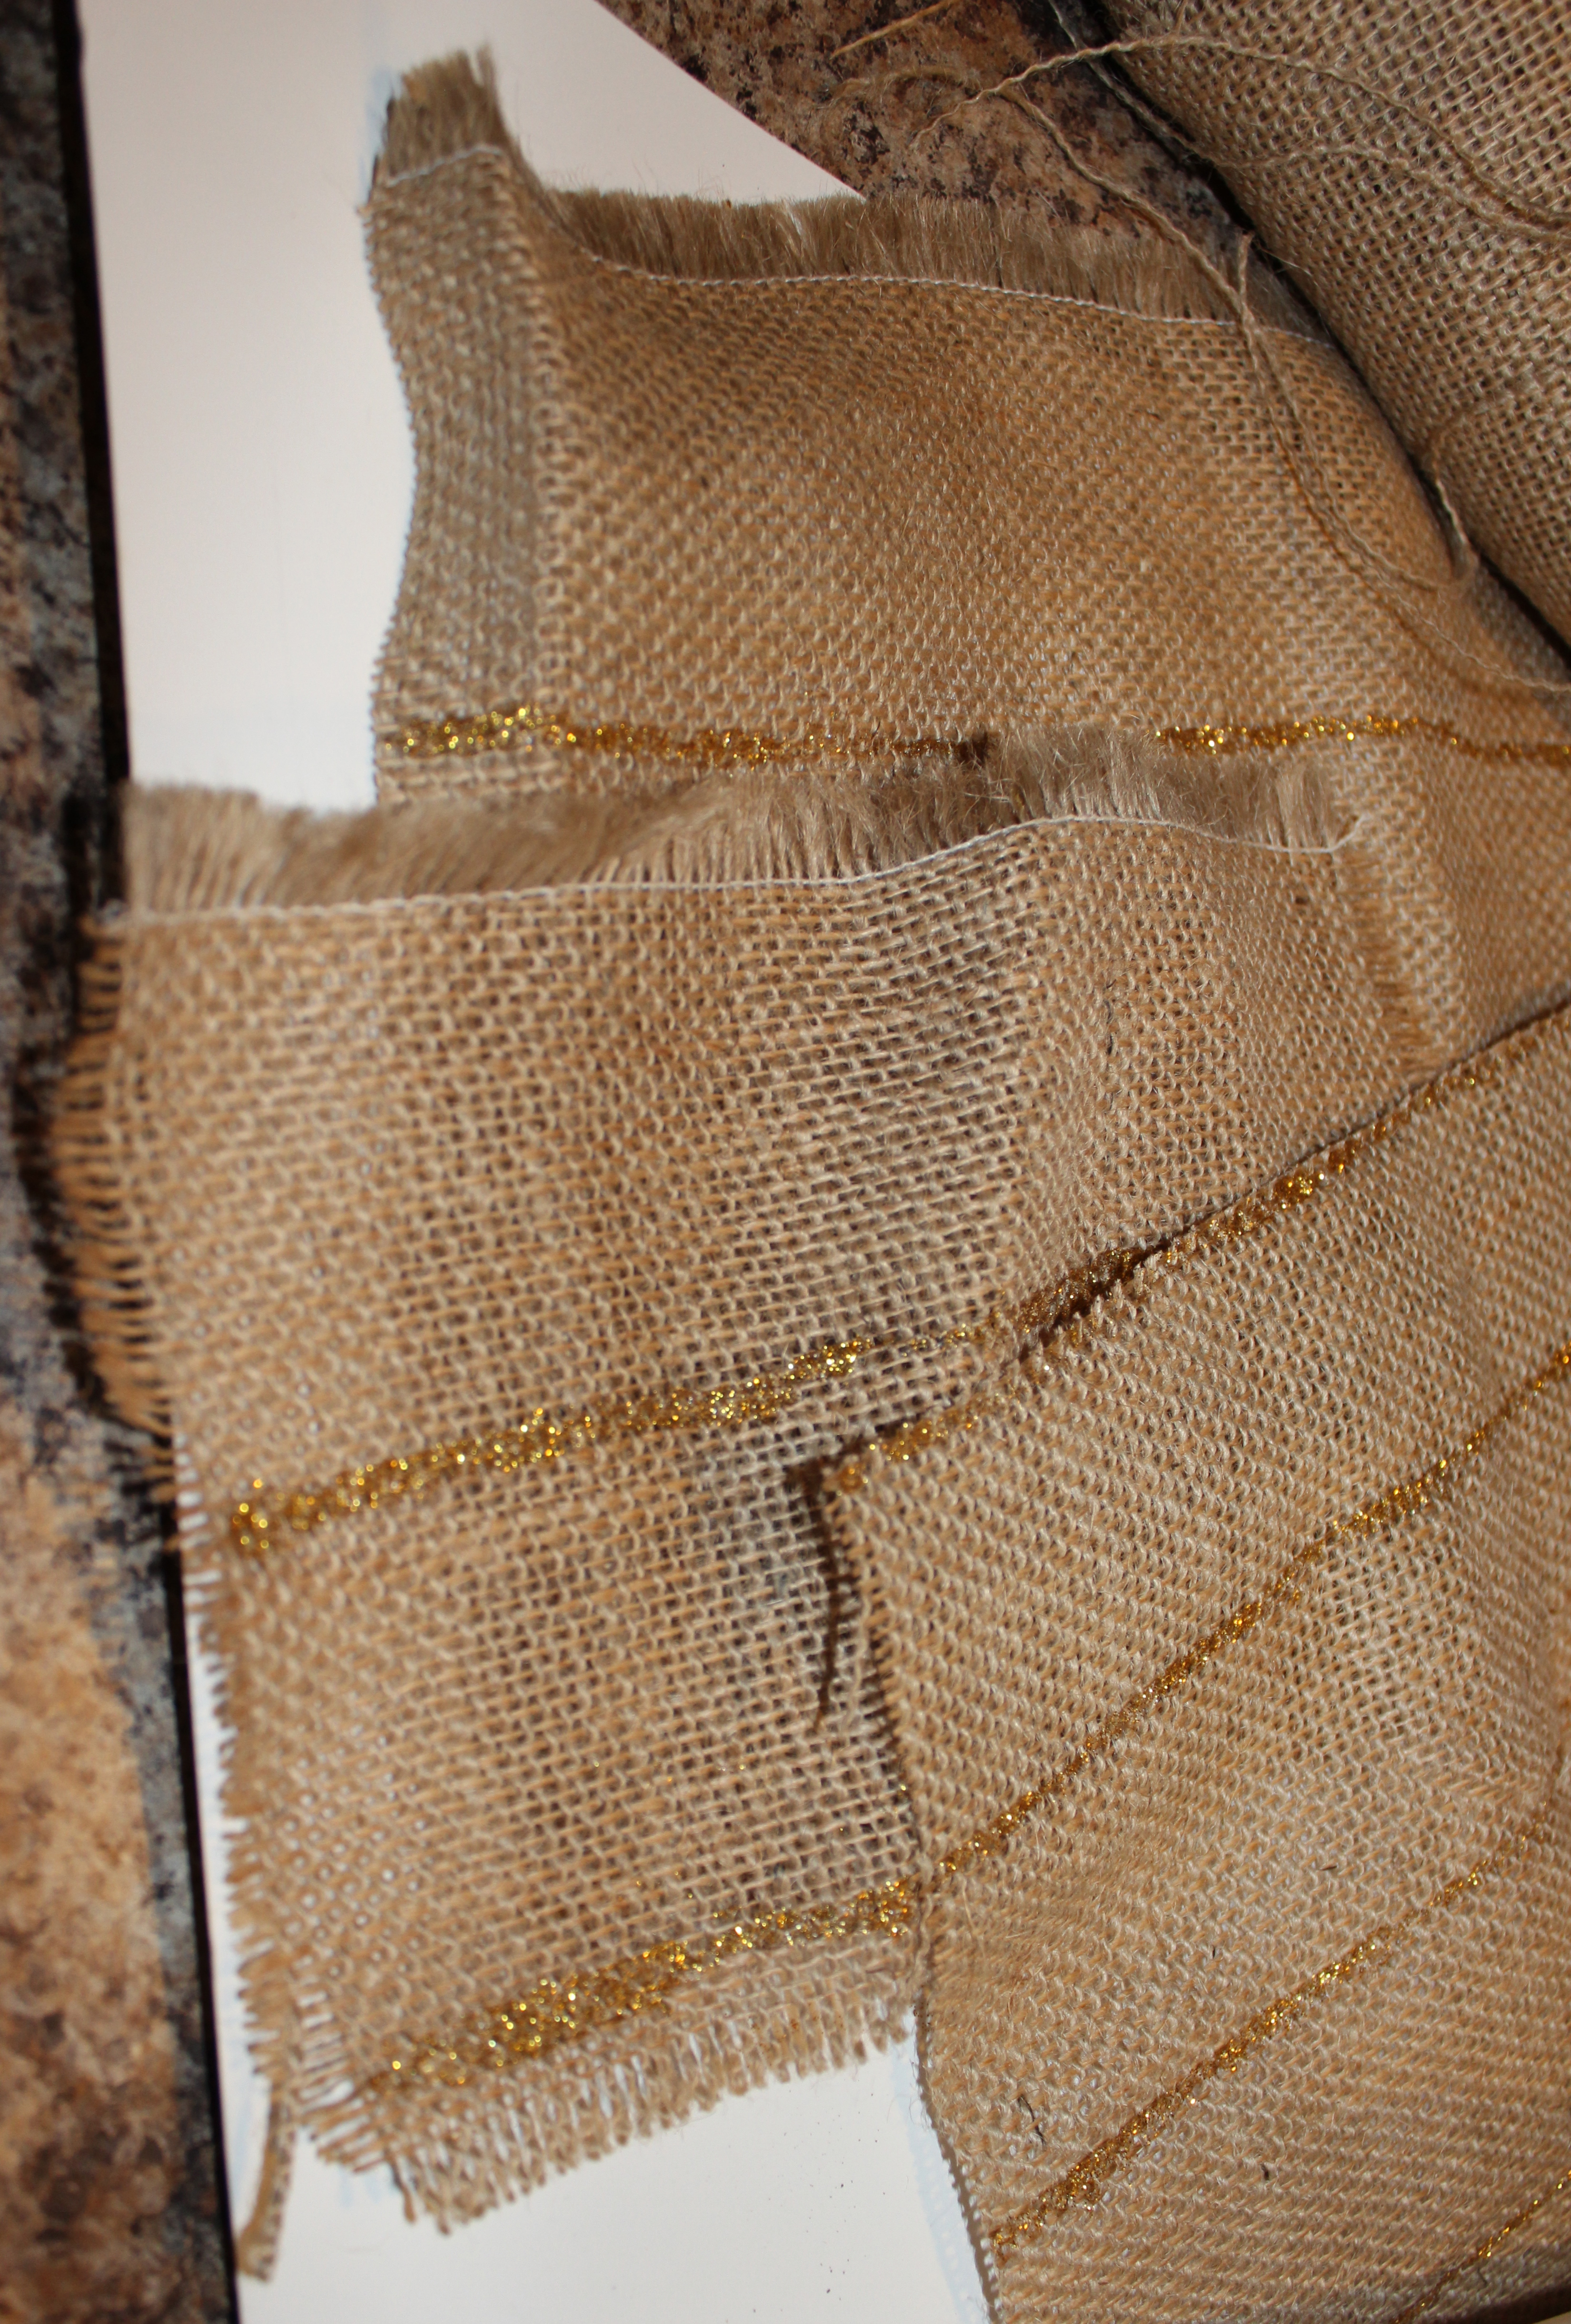
To start, I got some burlap strips that I had left over from various projects. Then I used gold glitter glue from the Dollar Tree and drew straight lines down the burlap about 2 – 2 1/2 inches apart from one another (I only measured the first one, the rest I eyeballed…is that a word?).
I left the glitter glue to dry and made a cone from a piece of poster board. I didn’t follow a tutorial or any measurements. I just rolled the poster board to make a cone with a pointy top in the size that I wanted, then used a pencil to draw a line down the side of the cone where the two pieces of poster board came together. I let it unroll and cut along that line. I rolled it back up and began gluing it together with my glue gun a little at a time. When I got to the bottom, I cut the bottom straight across, and then kept cutting, little by little until it sat on the counter evenly. I know, I know, not very precise, but it worked and was pretty quick.

I then hit the cone with a quick coat of of some Rustoleum Hammered Gold spray paint so that if any little piece of the cone was seen, it would blend better with the burlap, rather than being stark white.
After the glitter glue on the burlap had dried, I cut the burlap into strips, leaving a line of gold glitter at the bottom of each strip.
Then I made a cut into each strip about 1 1/2 inches apart that was about 1 1/2 inches vertical, creating a long strip with a bunch of cuts in it that was still one piece.

At this point I was able to begin attaching the burlap strips to the cone. I started at the bottom and began wrapping a strip around the cone a little at a time, gluing as I went so that each layer covered just enough of the layer below as to not see any of the cone. See picture below.

When I got to the top, I used some scrap burlap to wrap the top, secured it with a dab of glue so that it wouldn’t come undone, and then put a little glitter glue on it.


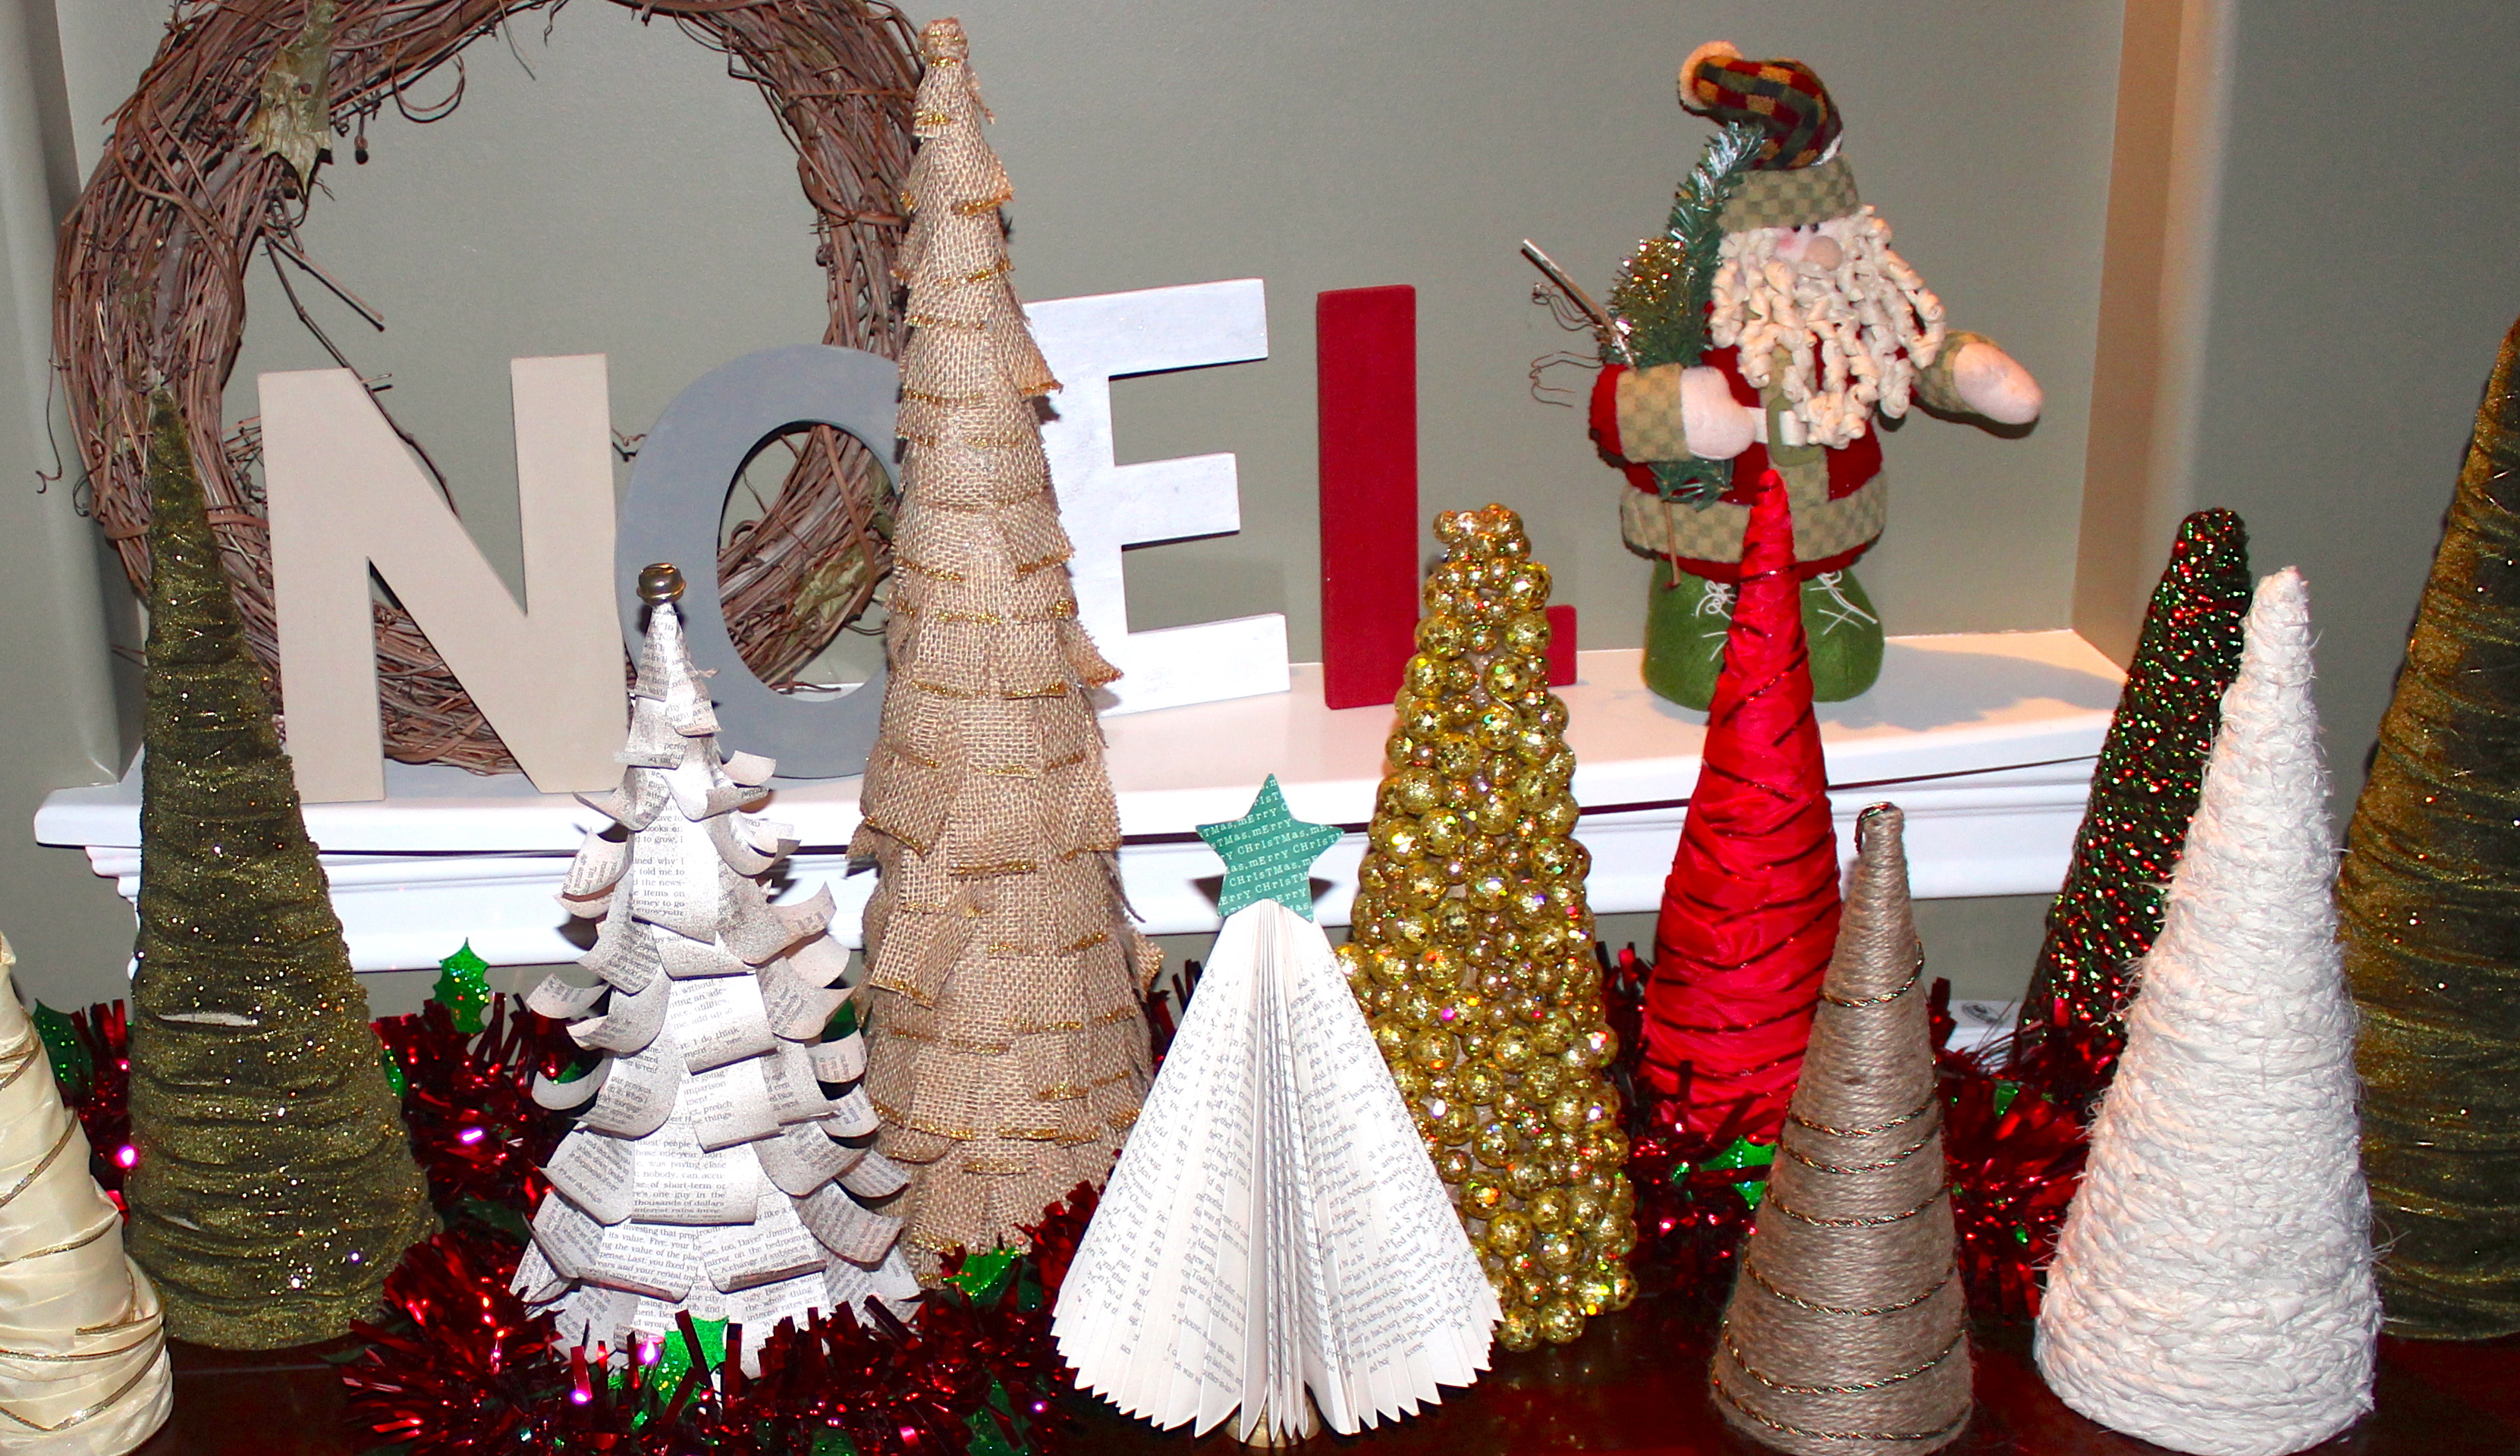
Wa-lah. Here you go. Another tree to add to the forest and it was basically free because I used materials I already had on hand. It’s now the tallest tree and finishes out our trio.
Now I only have nine projects to finish, gotta run. Let me know what you think.
See ya next time,
Summer