DIY Rustic Wooden Centerpiece Box
Tabitha and I both decided we needed a centerpiece for our kitchen tables that we could change out with the seasons. There are lots and lots of tutorials online for how to make a centerpiece box, but since we love their website, we chose the Shanty 2 Chic’s Fall Table Centerpiece.
Luckily it was Tabitha’s week to buy the materials, so she loaded up on wood, stain, paint brushes, wood glue, and then we had to hunt for some nails in my messy garage because we didn’t have a nail gun yet.
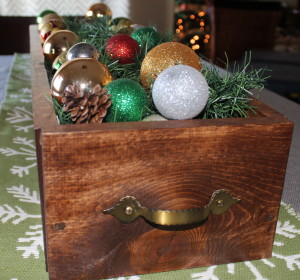
The tutorial on the site is really good so we’ll let you follow along, rather than repeating here. The only thing we changed is we went with handles instead of knobs for our embellishments.
Note: Now that Tabitha got a nail gun for Christmas, we could have knocked this project out in about 30 minutes, especially since we had Lowe’s cut the wood. Instead, it took a little longer, say about 1 1/2 hours. The wood was thick and we had to really do some hammering to get the nails in all the way.
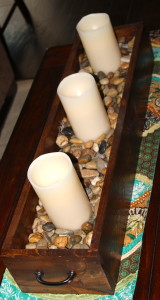
We love this box because we have both been able to find so many uses for it all year long. We made these boxes back in late October 2013 and have been using them ever since.
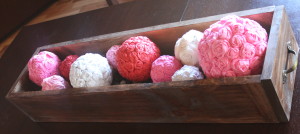
Here are some pictures of how we have changed them up:
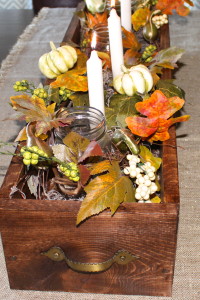
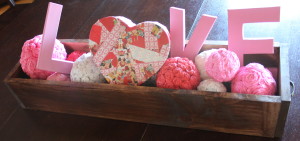
So, if you have a big table that you need a centerpiece for, make this!
It’s easy, it’s cheap (around $12-$15 bucks depending on your handles if you already have stain), and it’s really fun to find different ways to decorate depending on the season or event.
See ya next Tuesday,
Summer and Tabitha