Bare walls make me nervous.
For some reason I can’t just let a good sized wall go naked without anything on it. It nags in the back of my mind until the bare spot is gone.
Maybe that’s weird, but I’m weird, so I’ve learned to go with it.
The hallway to the bedrooms has a bare wall and I’ve changed its decor about five times in the last few months. Nothing has “fit” just right yet.
Finally, I came across something that I thought would look coolio.
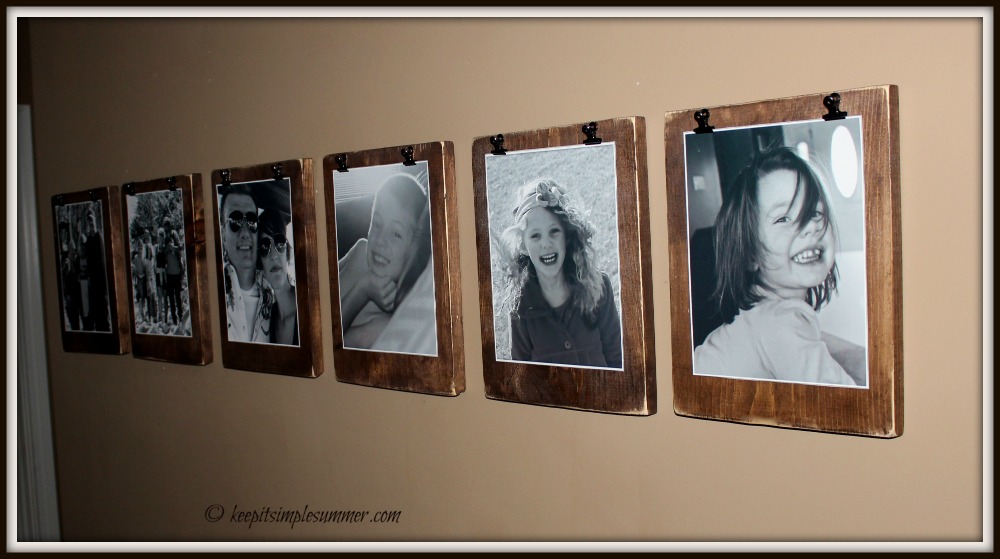
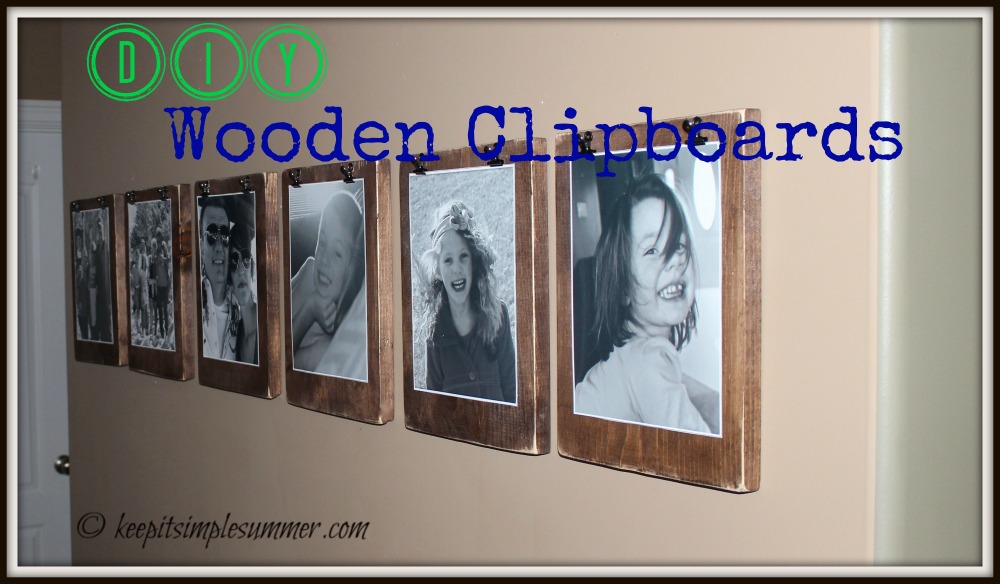
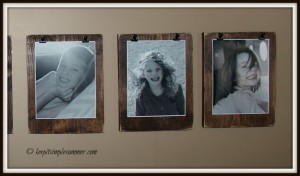
DIY Clipboards. I’ve seen various uses for clipboards on the internet, and figured they’d work great as wall decor, useful to display current photos of the kiddos or places we’ve been or hope to go (and in the back of my mind I had a back up plan. I could use them above my desk if I didn’t like them on the wall, so I wasn’t taking much of a risk).
After looking around, I loved the look of the clipboards on Love Grows Wild, figured I’d change them up just a little, and went out to the garage to look for wood.
My lucky day.
My inability to measure properly for a previous project lent itself to a jackpot now.
I actually had the board needed in my wood pile to make six clipboards.
Perfect. The stars aligned and it was to be.
My husband used our circular saw to cut the wood (but you could have the place where you buy the wood cut it). If he’s home and he sees me getting the saw out he always offers to help. Even though I know how to use the saw, I think my general clumsiness in other areas tends to make him worry. It’s nice and faster for me so I always let him help.
Once the wood was cut, the rest of the project was easy peasy.
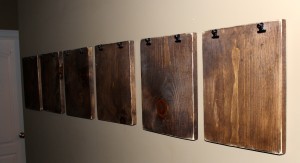
Here’s the finished project. I love them!

Here’s how to make them:
- Cut a 6 foot 1 x 12 inch board into six even 12 inch boards. (You can adjust the length for how many 12 inch boards you want).
- Sand sides and corners of boards to get rid of any splinters or roughness.
- Stain each board front, back, top, bottom, and sides. (I used Rustoleums Dark Walnut for my stain)
- Once the stain has dried, rough up the edges with sandpaper to make them look a little worn. You could leave out this step if you aren’t going for the “worn” look.
- To help protect the boards I sprayed them with a polyurethane protective coating by Miniwax. You could also seal them with a finishing wax if you prefer.
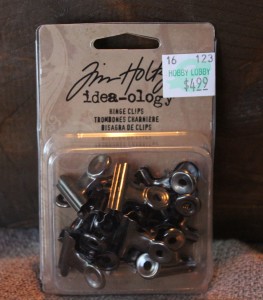
- Hot glue (or super glue) two mini clips to each board. Each clip should be 1 3/4″ from the side and I had the top of the clips even with the top of the board. There should be approx. 5 1/2″ in-between the two clips. The clips I used were from Hobby Lobby and I got them in the scrapbooking section.
- To hang without putting holes in the wall, you can use one command picture wall hanging strip per board.

If you don’t want to use command strips you could nail in a sawtooth hanger on the back of each board and then hang from the wall using a small nail.
Also, since I was wanted to display pictures on my clipboards I used one small adhesive dot on each bottom corner to keep the pictures flat against the wood and not curling over time.
Wah-lah, my naked wall is no more……at least for a couple of weeks until I change my mind and move the clipboards somewhere else. I think I might also like them vertically or part of a gallery wall. What do you think?