Ok, this Try it Tuesday episode proves that if we can do it, you can do it.
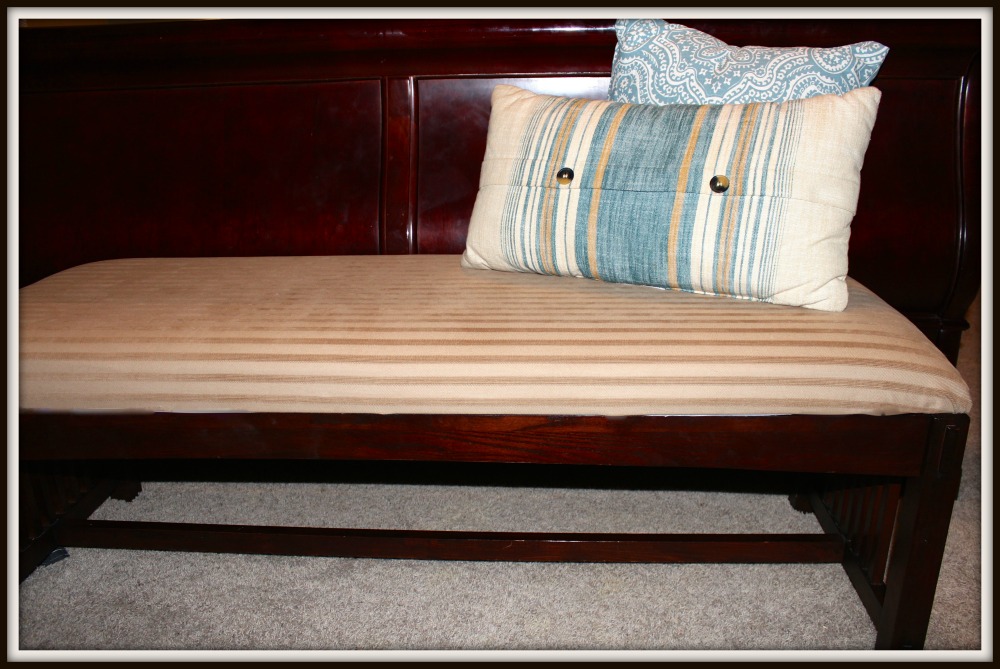
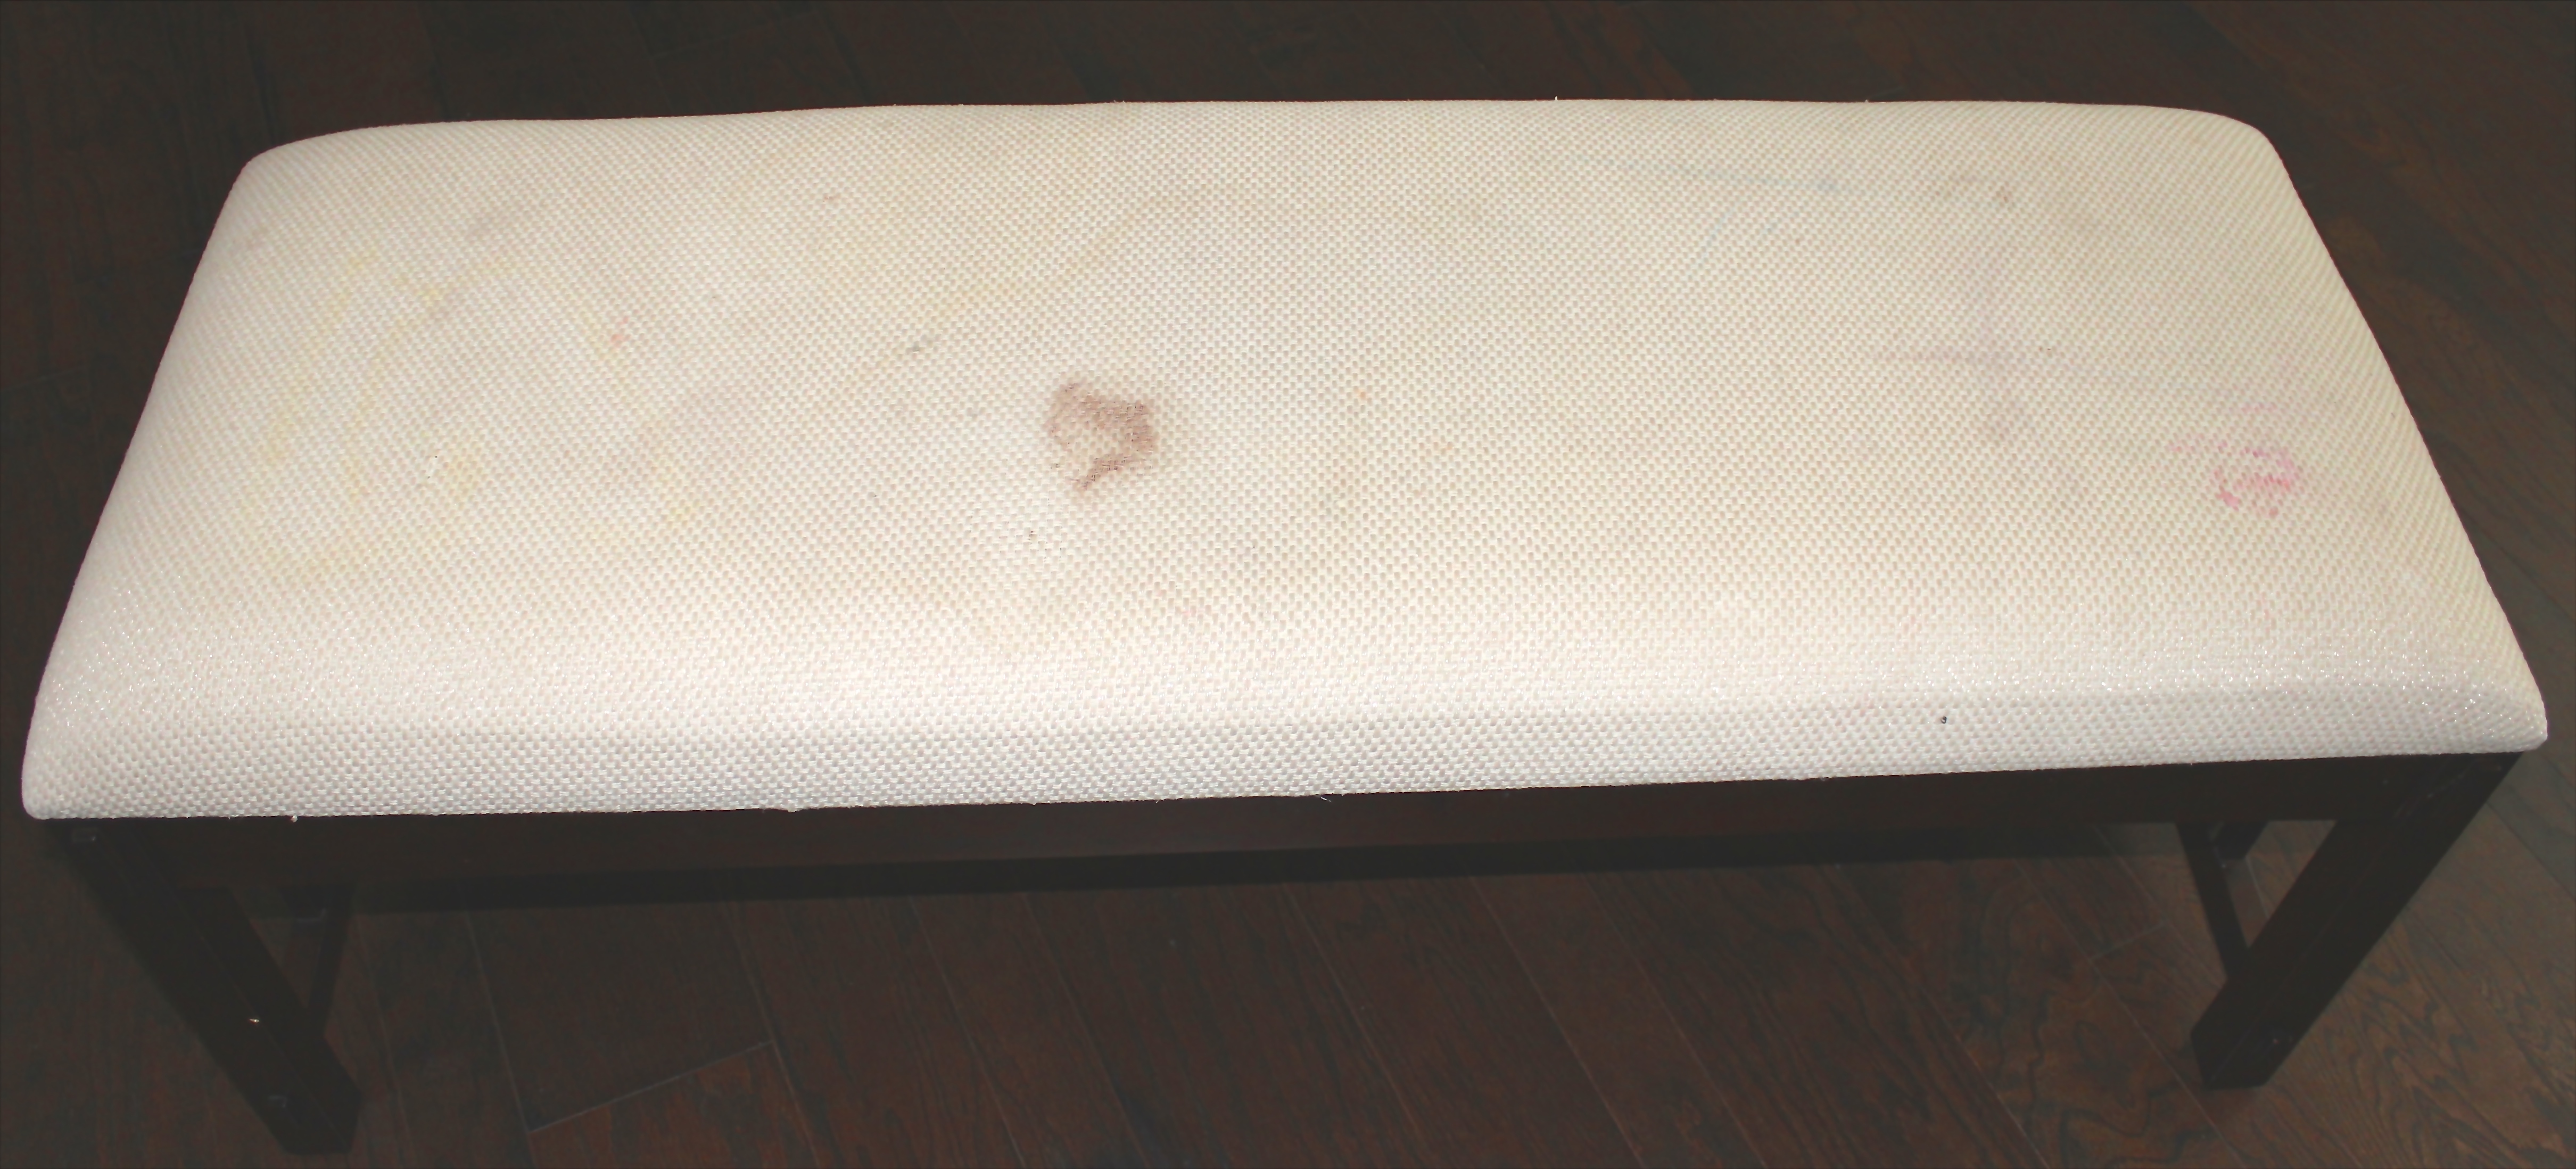
I’d made the dire mistake of letting the kids bring breakfast into our bedroom on the weekends and as a result our once nice cream colored benc at the end of our bed had gotten some gross stains on it.
Although, in my defense, I never said that the pancake with nutella that got sat on and smeared across the seat was allowed.
That was snuck in by The Destroyer.
The stains were to the point that every time I walked into my bedroom and saw the bench it was annoying and I just wanted to make it go away.
I was about to break out my muscles and chuck the bench out the window, when Tabitha talked about needing a bench for the end of her fancy new bed.
It dawned on me that I had an old metal bench in the basement storage disaster area that I didn’t have a place for in this house. I told her she could use it if she wanted to recover it.
She was up for it, so I hauled that thing over to her house (it’s heavy, 5′ long) so she could test it out for a couple of days and make she and the hubby liked it.
They did.
So, the next Tuesday I hauled my bedroom bench over there and we got started.
The process to recover a bench is pretty easy. Originally, I picked up my metal bench at a garage sale and it had a pink velvet seat cover that was 1970s cute, but not really fitting our current decor.
So instead I covered it with this:
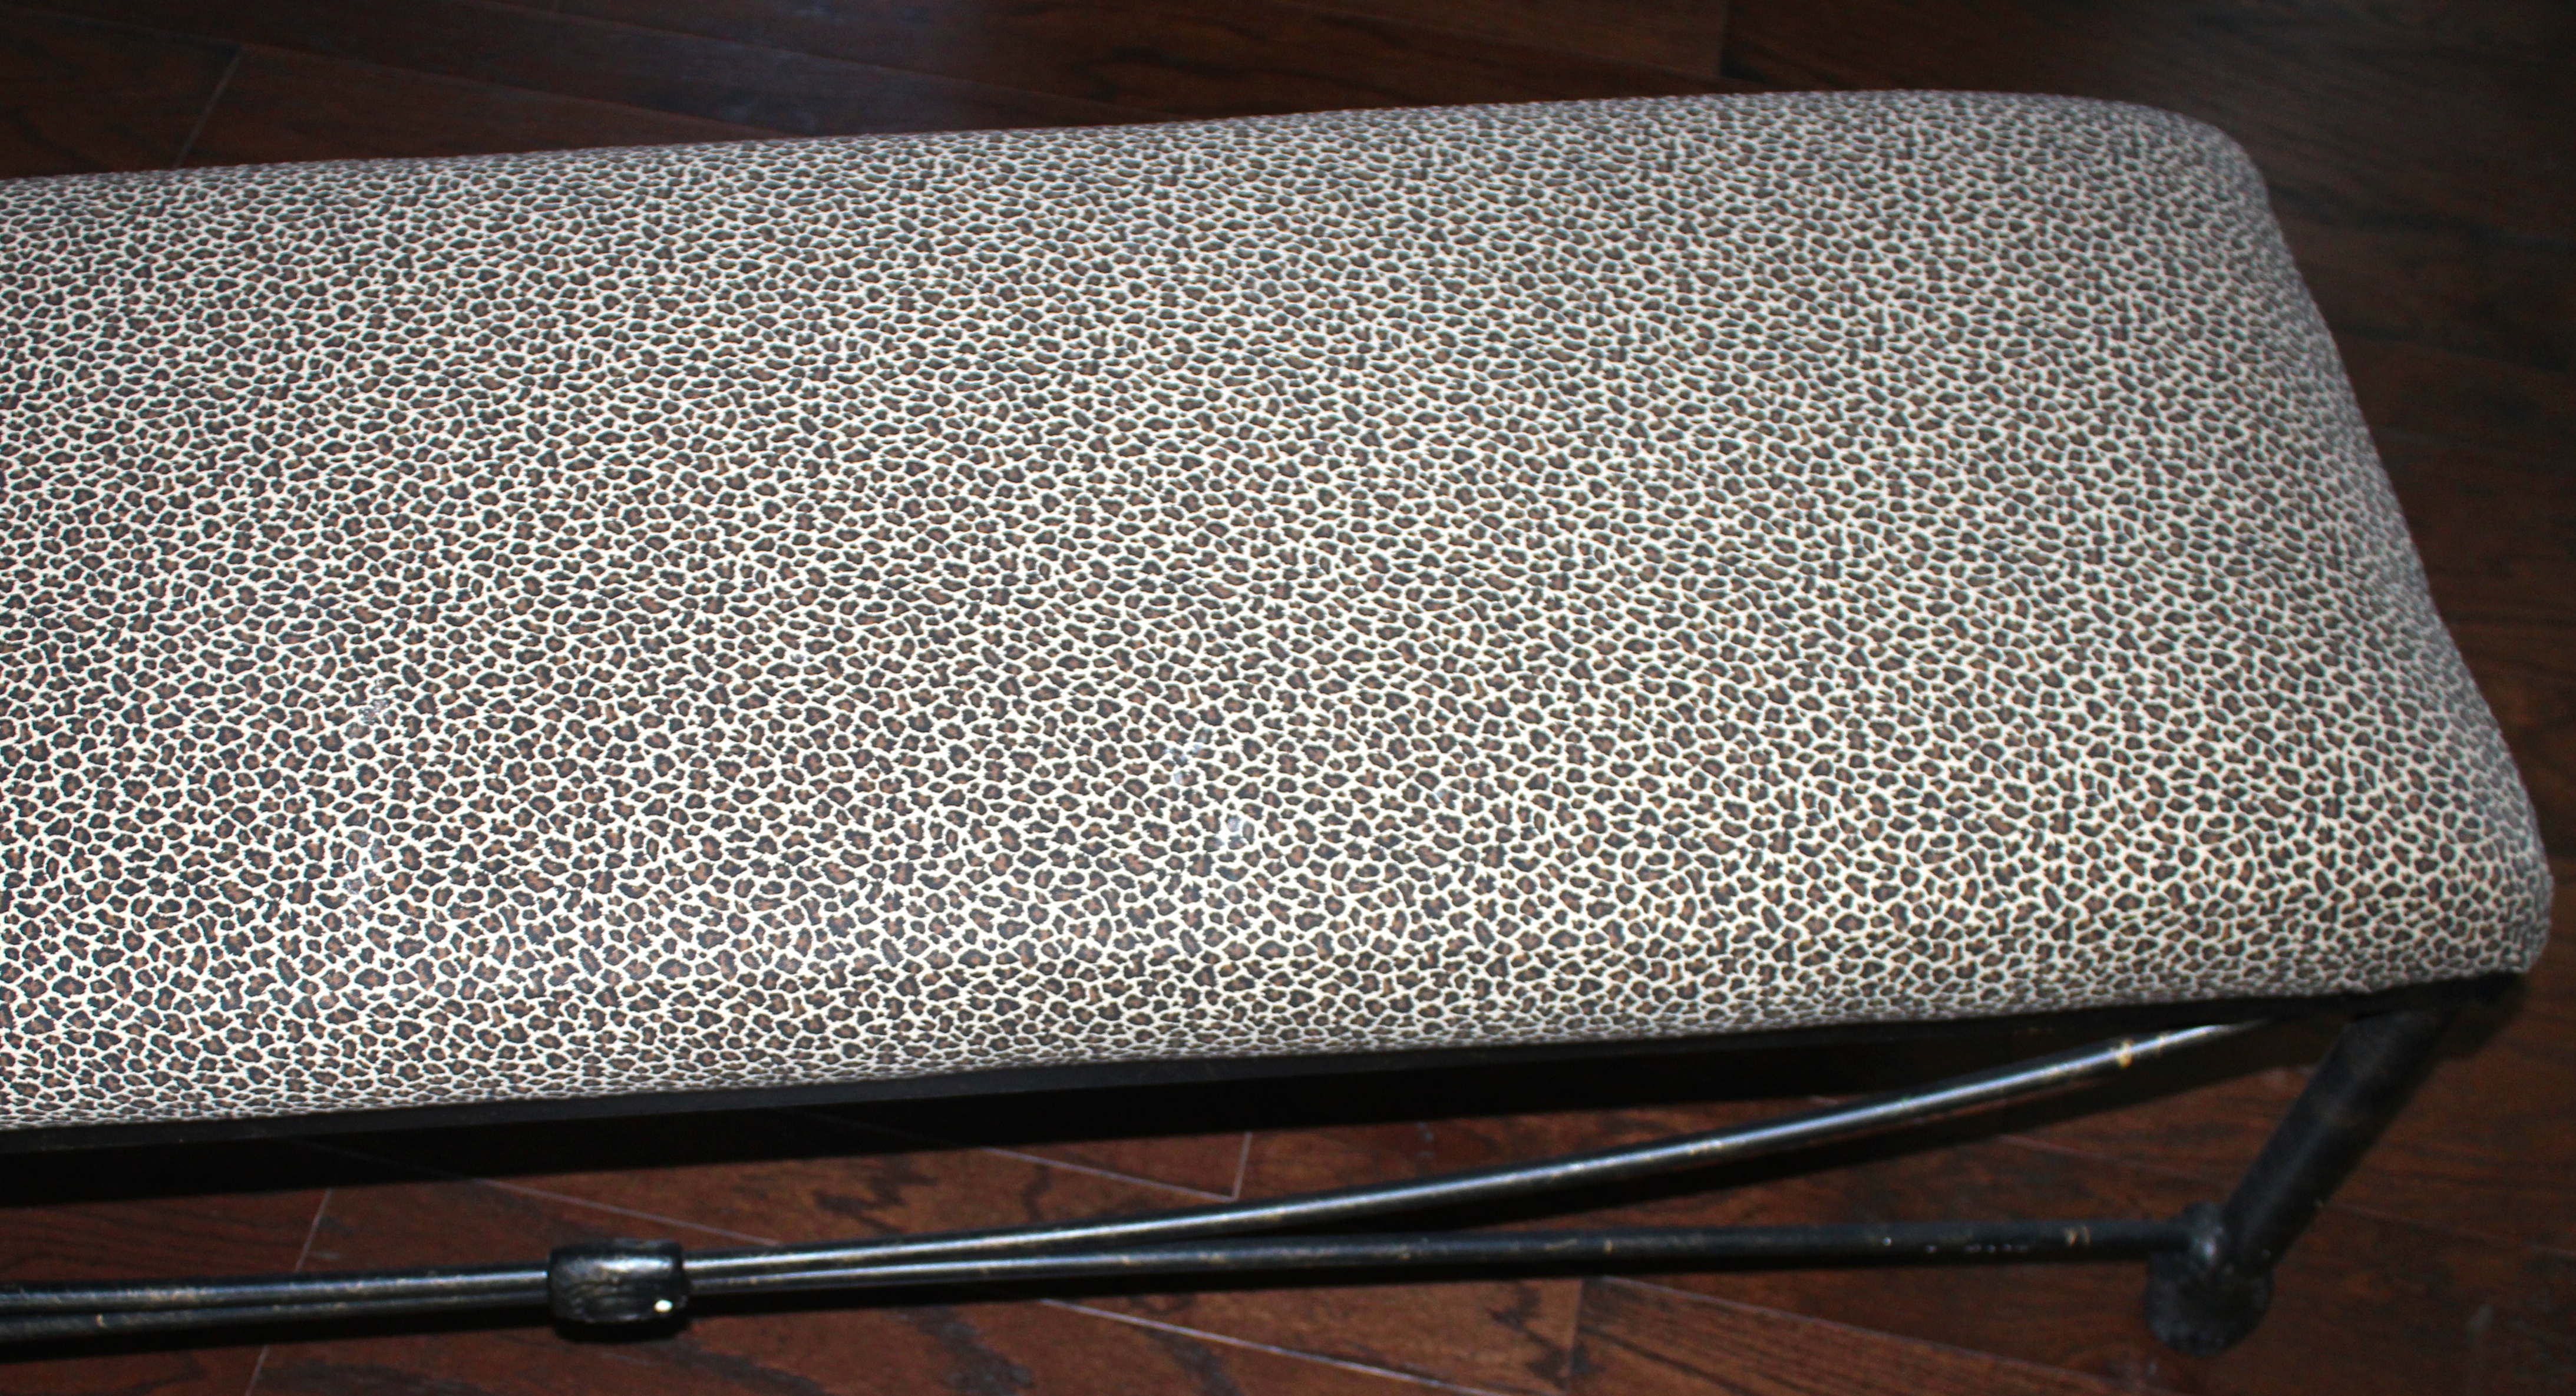
I know, WHAT WAS I THINKING?
Oh well, I thought it was cool at the time. I have problems.
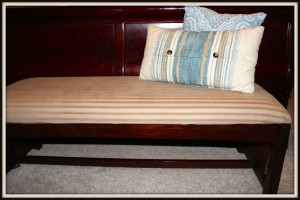
Anyway, here are the before pictures of both of the benches (note the Nutella stain that could not be removed):
There first thing we did was flip the benches over and remove the screws to get the seats off. Pretty easy with a screwdriver or drill.
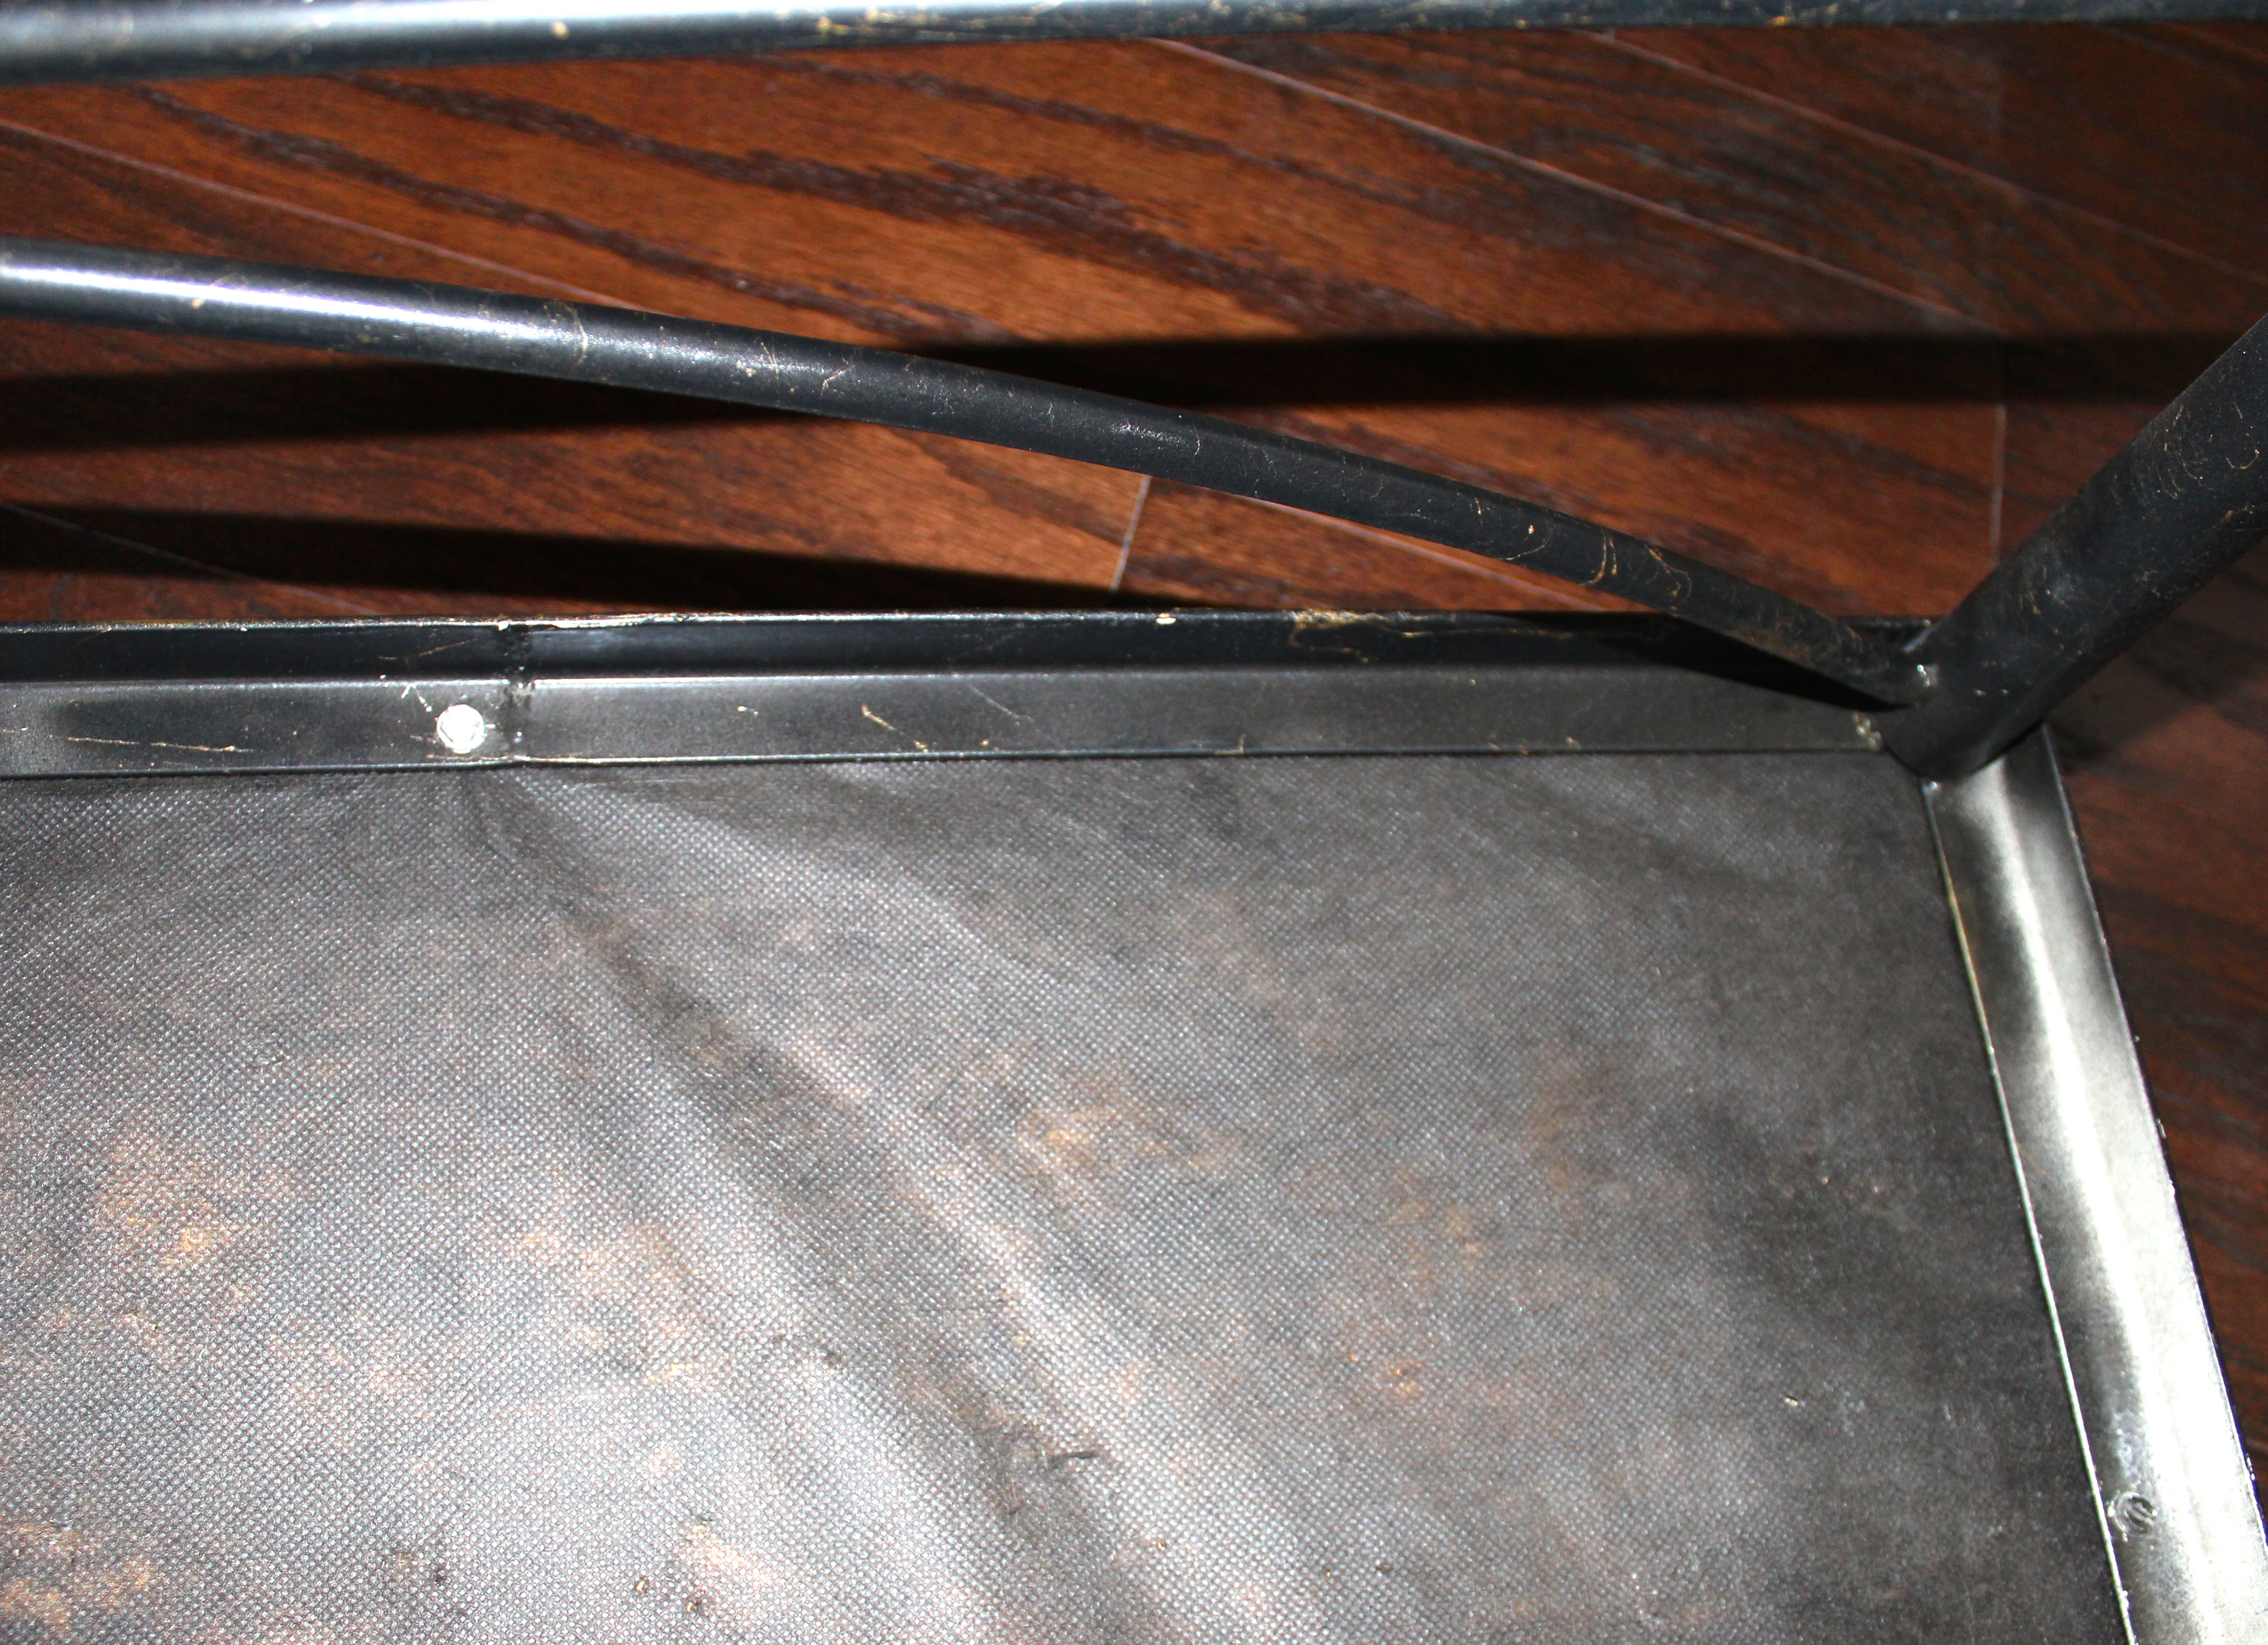
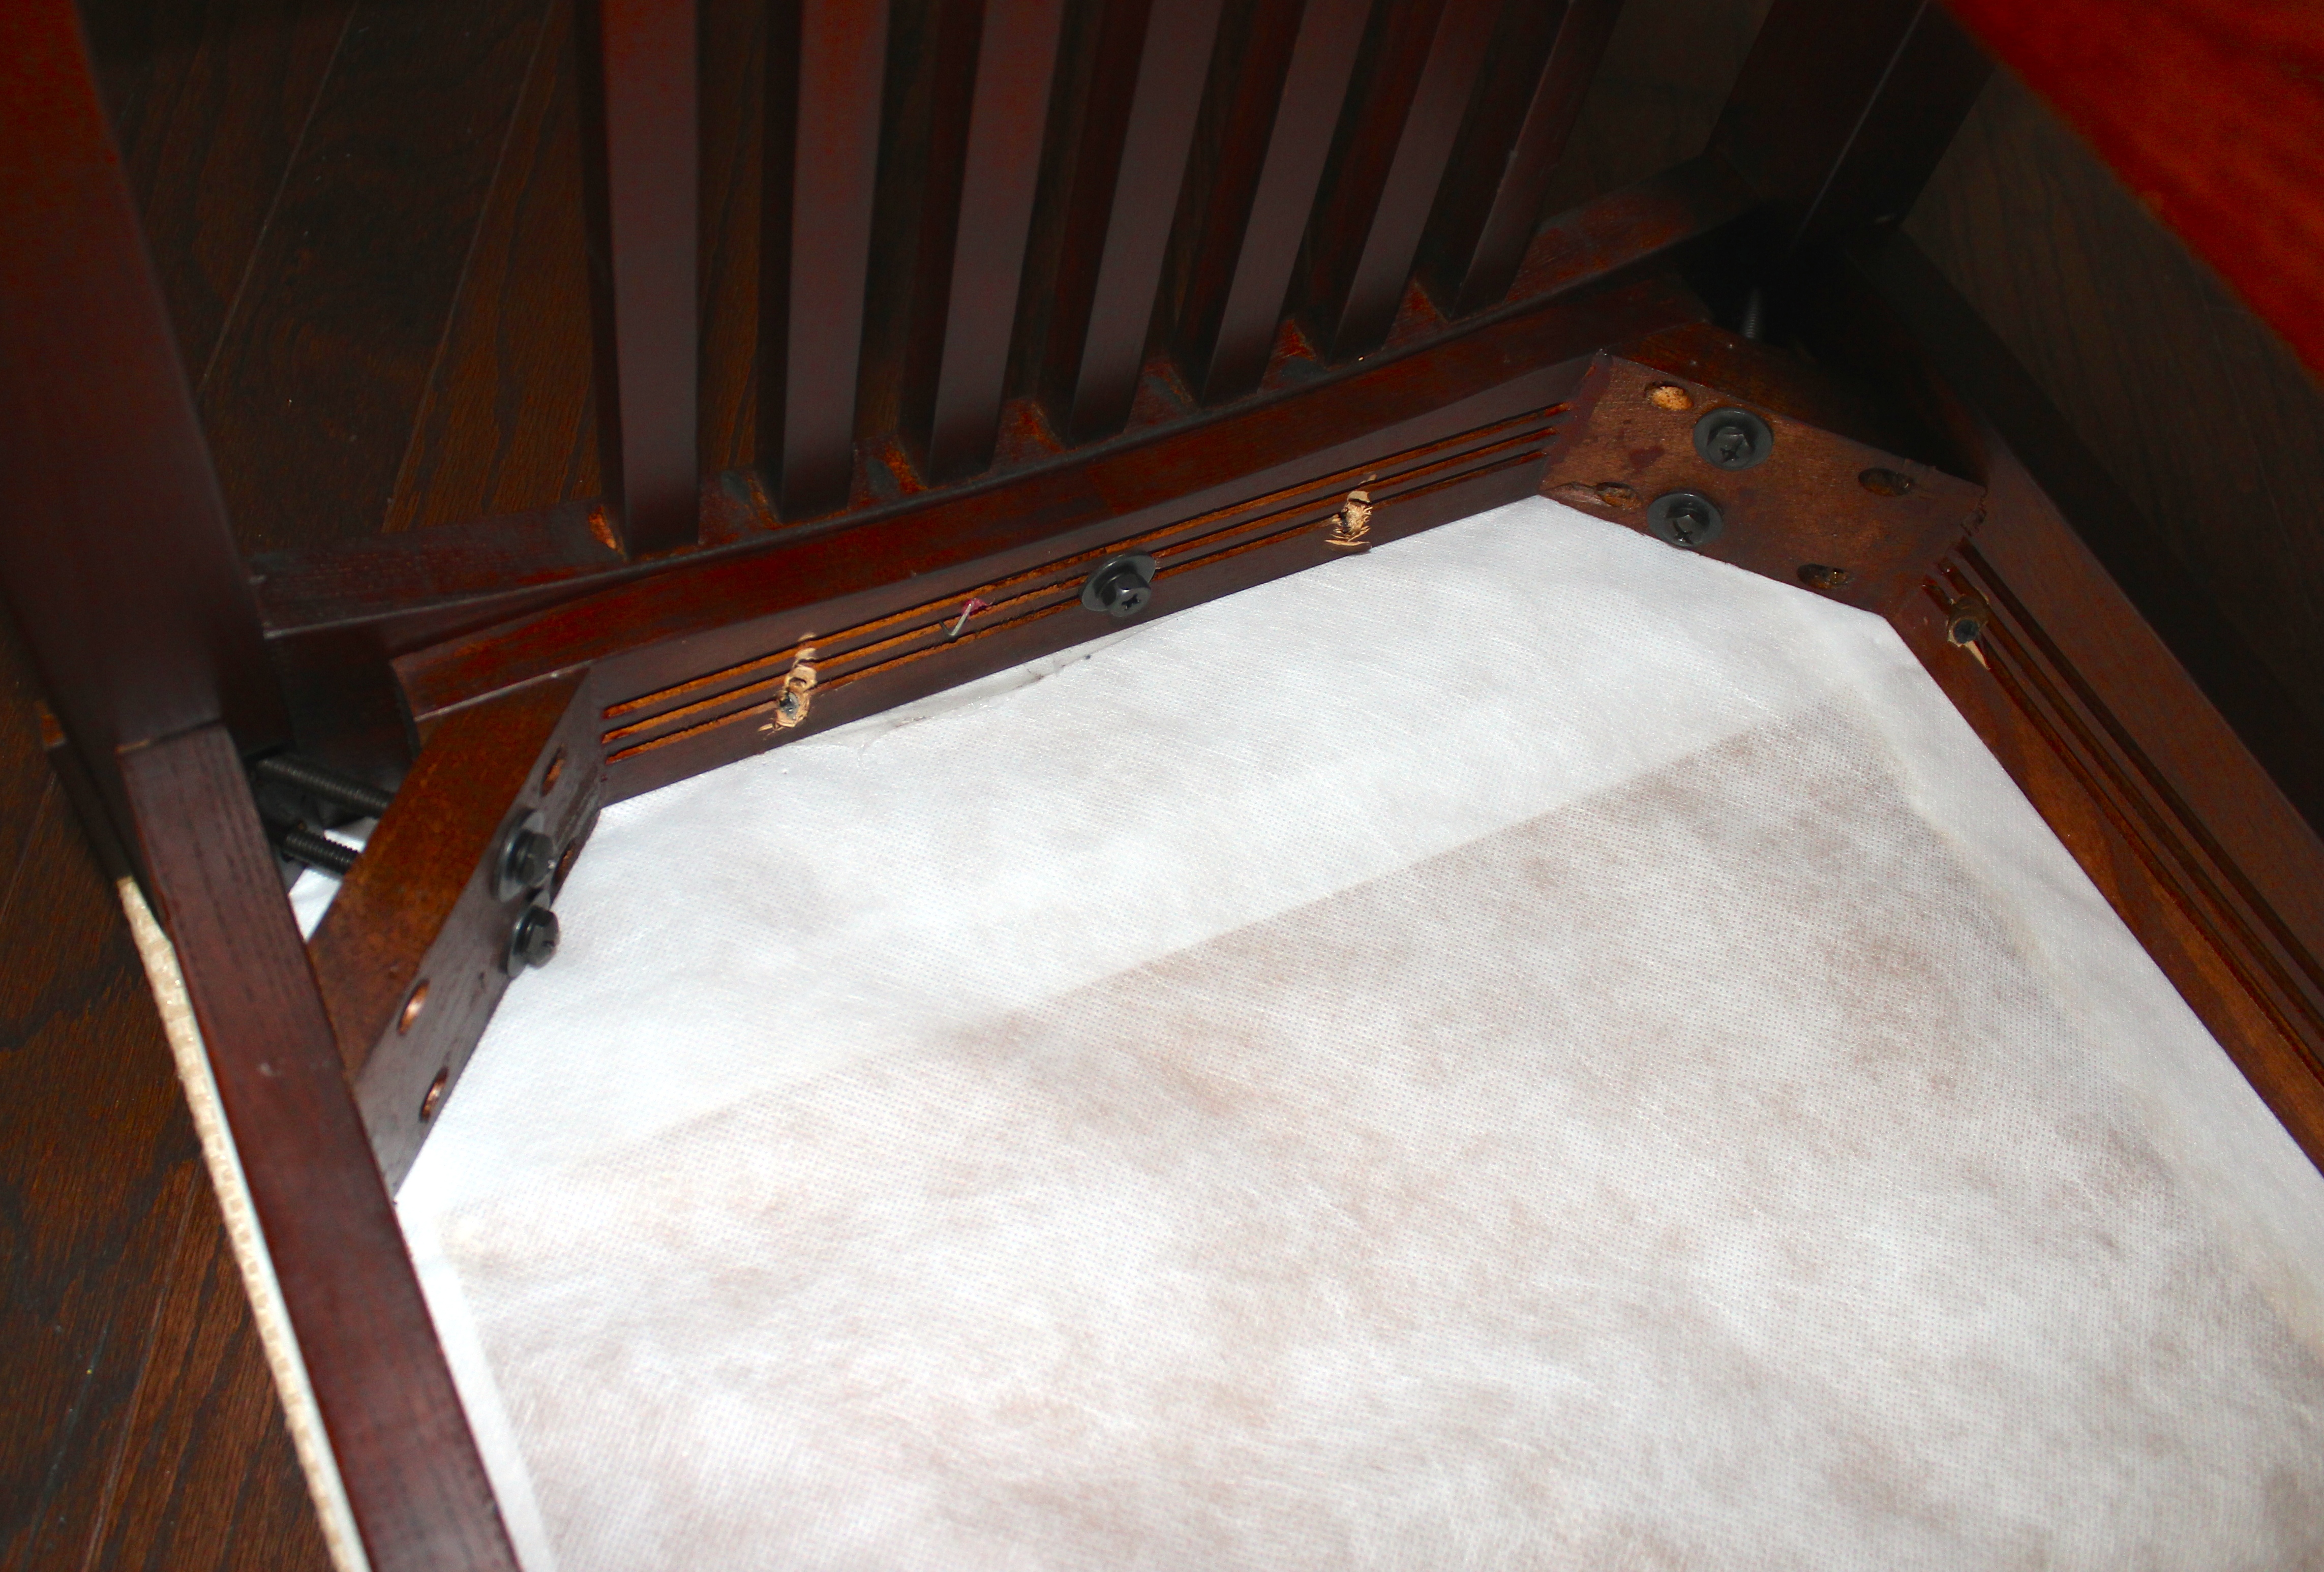
Next, using what I am sure is not the “right tool” as my husband would say, we removed the staples holding down the batting material with a flat-headed screwdriver and pliers.
Then we removed the previous fabric.
Tabitha had an easy time with hers. The “cheetah” print was thinner fabric and easier to rip off.
My fabric was much thicker and I had to use scissors to cut mine off because there was another layer of industrial size staples that I didn’t want to spend my time pulling out.
Since we were both happy with the amount, appearance, and quality of the foam on our benches we left it in place and started the recovering process.
This part you could do by yourself but I think it helps to have someone to help pull the material tight.
We simply laid out our material with the good side facing the floor, centered the cushion over it, went around the whole rectangle pulling the material making sure the new cover was tight with no wrinkles, picked a side and stapled it up onto the underside of the bench.
We did the long sides first. One would hold the material tight while the other would staple.
Then, we did the same thing on the short sides, leaving the corners for last.
The corners can be the trickiest part. There are a lot of tutorials on Pinterest and Youtube on how to recover corners. The method that we used was to staple the sides of the corners down first, then cut some of the excess material off, and then you pinch and fold the leftover middle material over and staple.
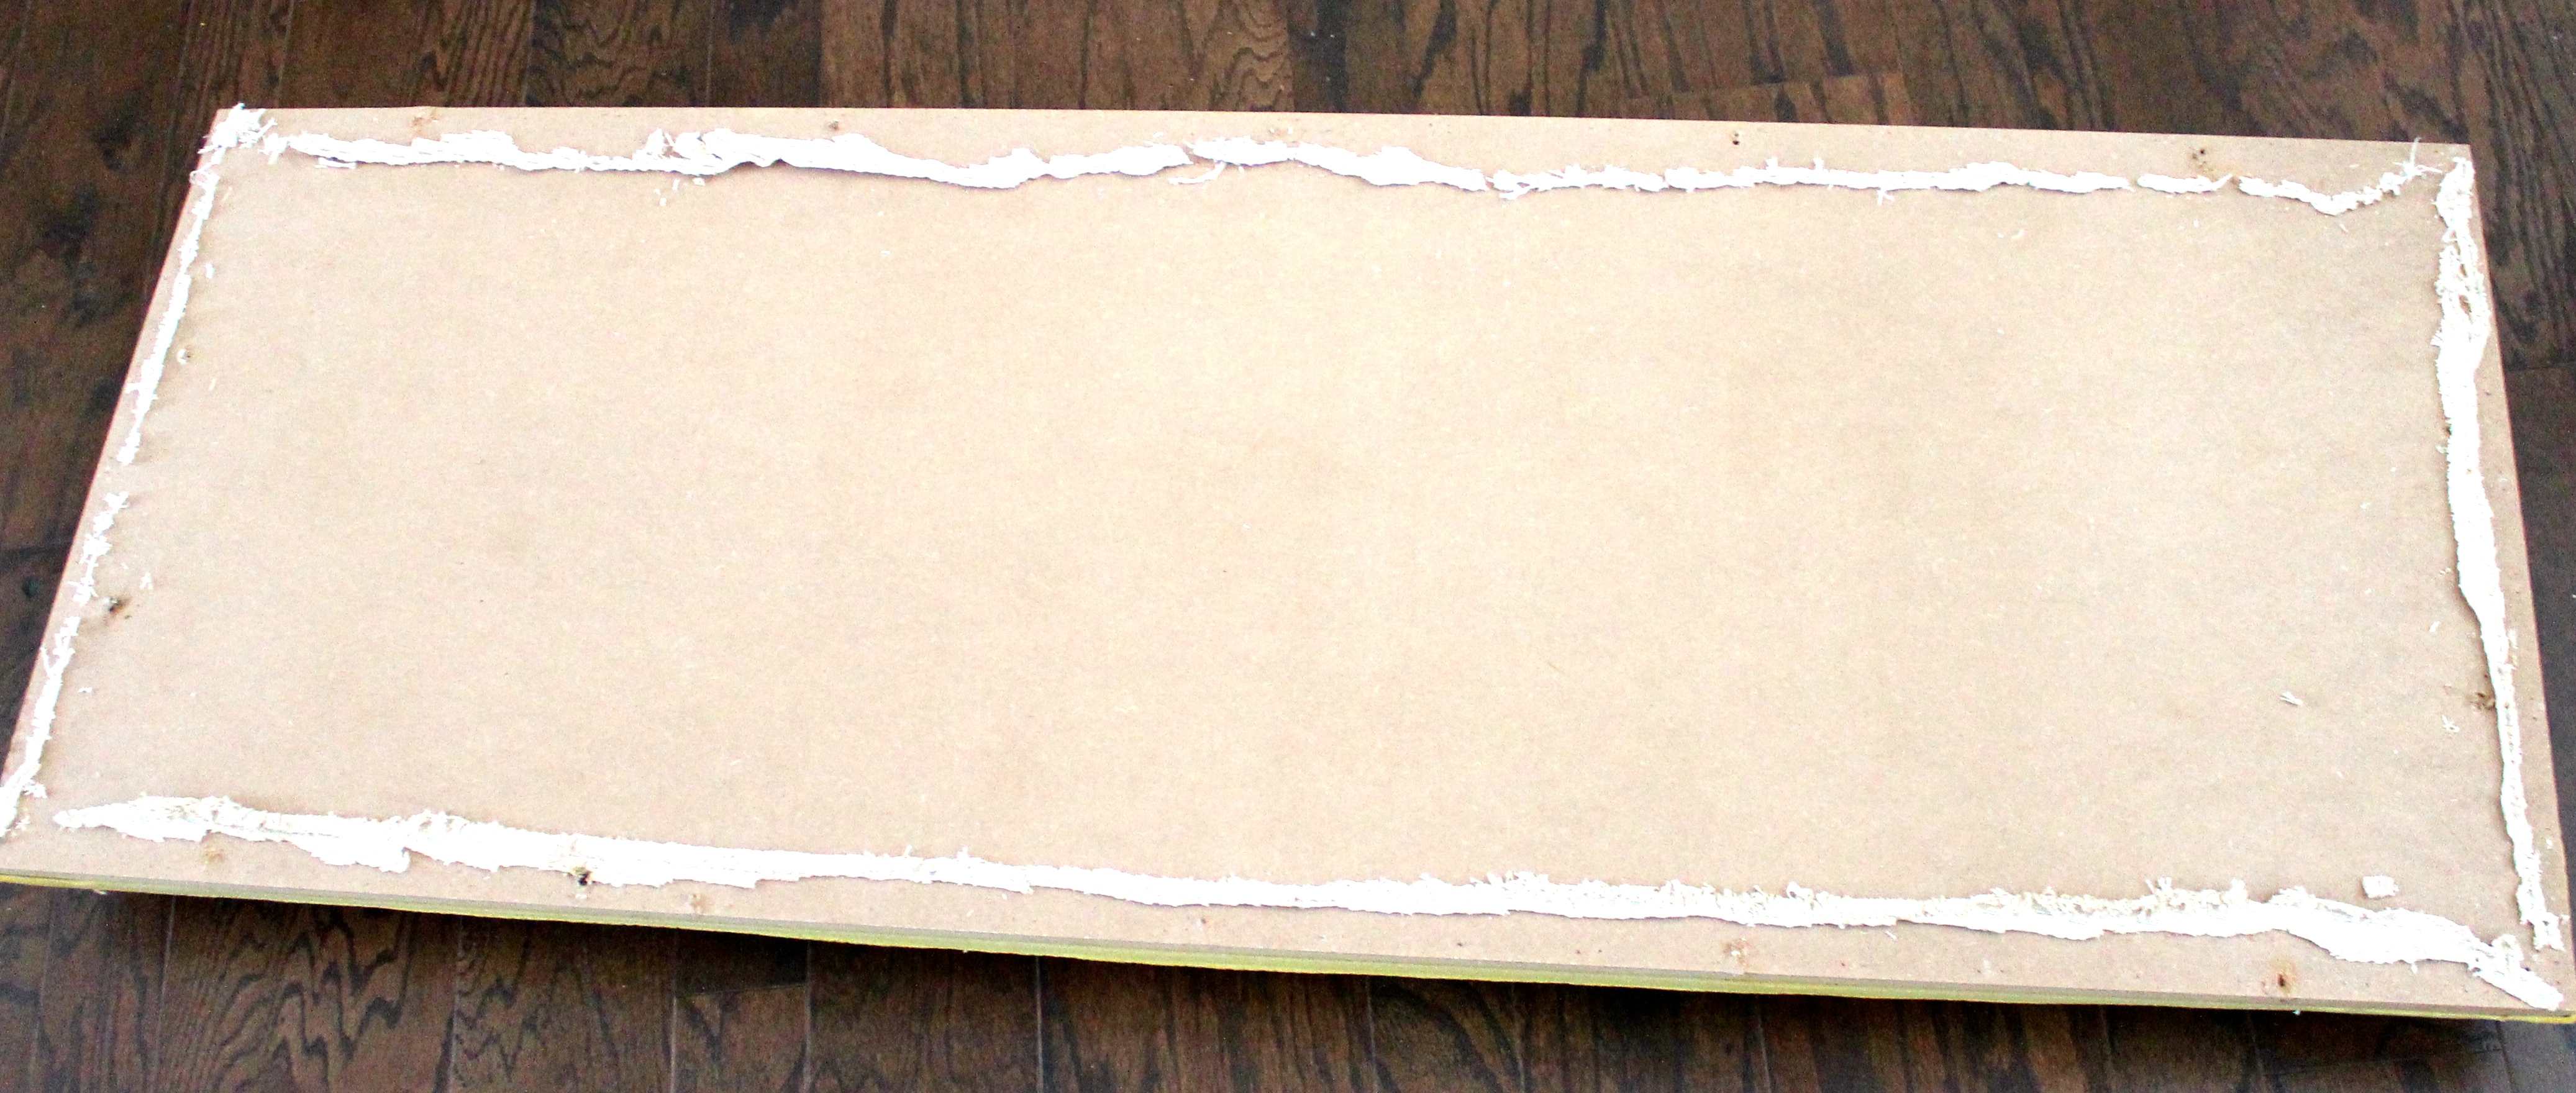
It’s a little hard to explain, so here are pictures (I had to retake pictures using a piece of wood because I forgot to take pictures of this part, sorry).

staple one corner down

staple second corner down

cut some of the excess off of the middle

pinch and fold over and staple
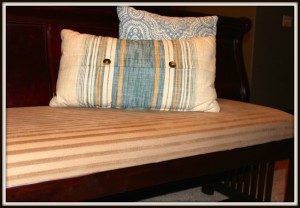
Once the corners are complete, flip the cushion over and make sure you are happy with how the material looks across the whole bench.
Position the bench cushion back on the base, put your screws back in and you are good to go.
It’s really not that hard and if a couple of newbies like us can do it, then you can do it too.

I also took the extra precaution of spraying my cushion with Scotchguard, just in case one of my precious angels manages to drop another chocolate treat…………….but I’m crossing my fingers we can do better this time around.
See you later,
Summer and Tabitha