There are probably eighty million billion hundred and twenty-one things you can do with a mason jar (that’s a very big number according to my five year old).
They’re so simple, fun, and versatile for decorating and gifts that sometimes I wonder how much people even still use them for canning.
Well I do, but don’t get the wrong impression. I only can salsa and it’s really not that hard.
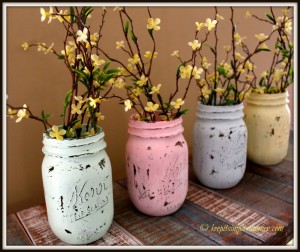
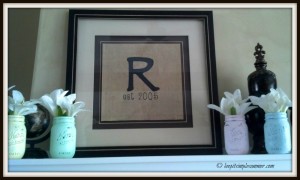
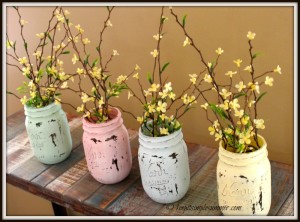
Luckily, I had some jars left over and Tabitha went and got a few more so we could make some Distressed Spring Mason Jars to put on our mantels with our DIY Spring Banners.
We looked around online on how to make chalkboard paint and found tutorials that included using non-sanded tile grout and latex paint.
Easy enough, but we couldn’t imagine a need for that much chalkboard paint and didn’t want to pay $12 for the grout.
So instead of buying the grout, we decided to try a different route (that sentence rhymes by the way).
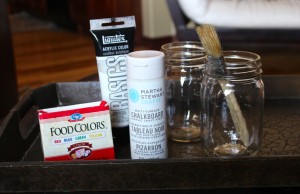
Tabitha bought a small bottle of Martha Stewart clear chalkboard paint for about $6 and we decided we would experiment.
It worked out pretty well we think.
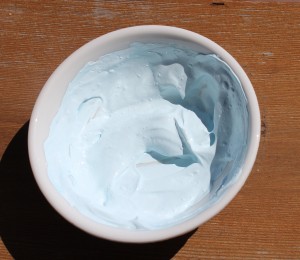
- Mix 1 teaspoon of white acrylic paint with 1 heaping teaspoon of clear chalkboard paint. Then add 2 drops of food coloring of the desired color (2 blue for light blue, 2 green for light green, and so forth). This should be enough mixture for two mason jars.
- Combine paints and food coloring well.
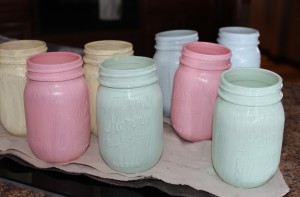
- Paint the mixture onto your jars and let dry. There should be enough mixture to coat 2 jars and then do a thin 2nd coat on both jars to cover up any spots that need to be touched up.
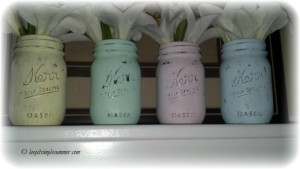
- Once dry, you can rough up the jars in a couple different ways.


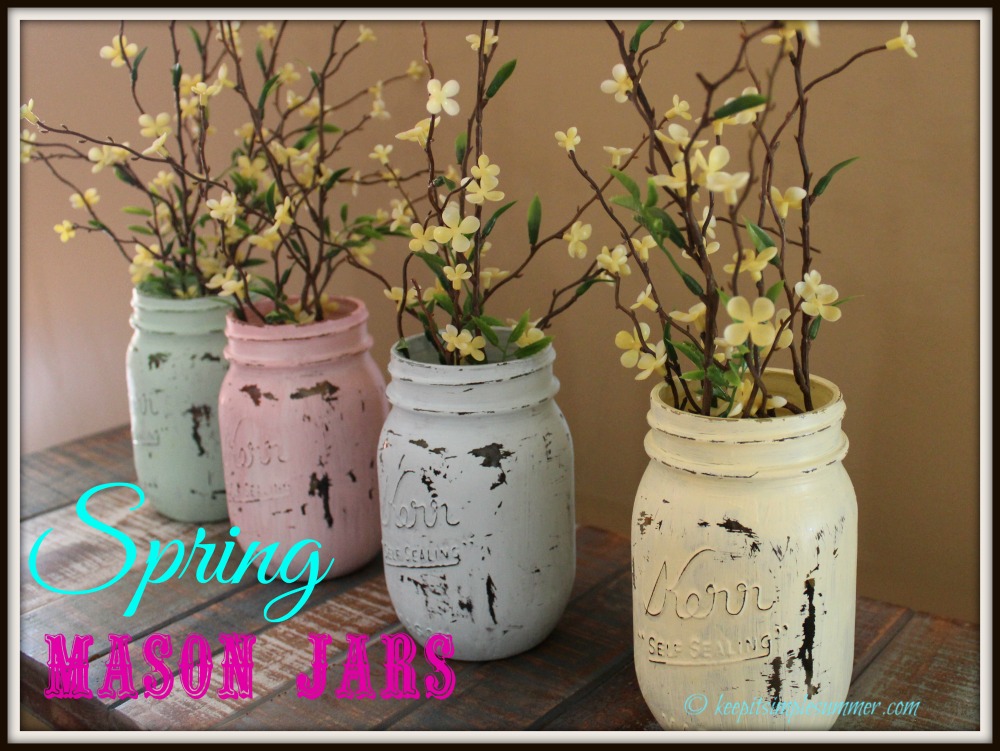

I love these jars!! What a refreshing gift Idea:) My question is, did/do you paint the inside of the jars as well? Do you think that I could put dirt & flowers inside of them for long term growth? Thanks for the fun ideas & inspiration:) I can’t wait to try these out. I think they will make a fun project for our third grade class to make for Easter. If they can write on them with chalk, all the better:)
Thanks for your comment Kayla, we’re glad you liked the jars. To answer your question, we did not paint the inside of the jars. I see that people use mason jars for terrariums or herbs, so I think they would work for flowers as well. You would need to watch for over-watering since there is no hole to drain. I think if you googled it you could find which flowers might work best. As for the chalk, I did write on the yellow jar with red chalk tonight and it took the chalk fine. When I erased it most of it came off, there was a slight red tint that probably would’ve come off with a damp cloth. I hope the class has fun. Let us know how they turn out.