


DIY Cup Coaster Tray
Everyday it seems like we run a dishwasher full of cups. Okay, I may be exaggerating a teeny tiny bit….so 99% cups.
It just seems like a waste of water and a waste of time.
But the biggest reason I felt like I needed to tackle this problem is that my husband is constantly asking me what I did with his cup. The exchange always goes like this:
Hubby: “Where’s my cup?”
Me: “What cup?”
Hubby: “The one I’ve been drinking from.”
Me: “Huh? I have no idea…….. It’s probably in the dishwasher. I can’t tell what’s clean and what’s not.”
Hubby: “Sigh……..” Annoyed sigh really.
But come on people. When I clean the kitchen I’m on a mission to get it done quick and easy and I don’t have time to ask cup questions.
With little kids running around (whom I’m constantly having to remind to wash their hands and get their hands out of their pants) I figure its better to be safe than sorry.
So when I saw a post for this Coaster Tray I knew I had to make one. I even showed the hubby and he was like, “Ya, make it, why isn’t it done already???” (which isn’t his usual comment when I show him things I’d like to make from Pinterest).
So here goes, these are the materials that I used:
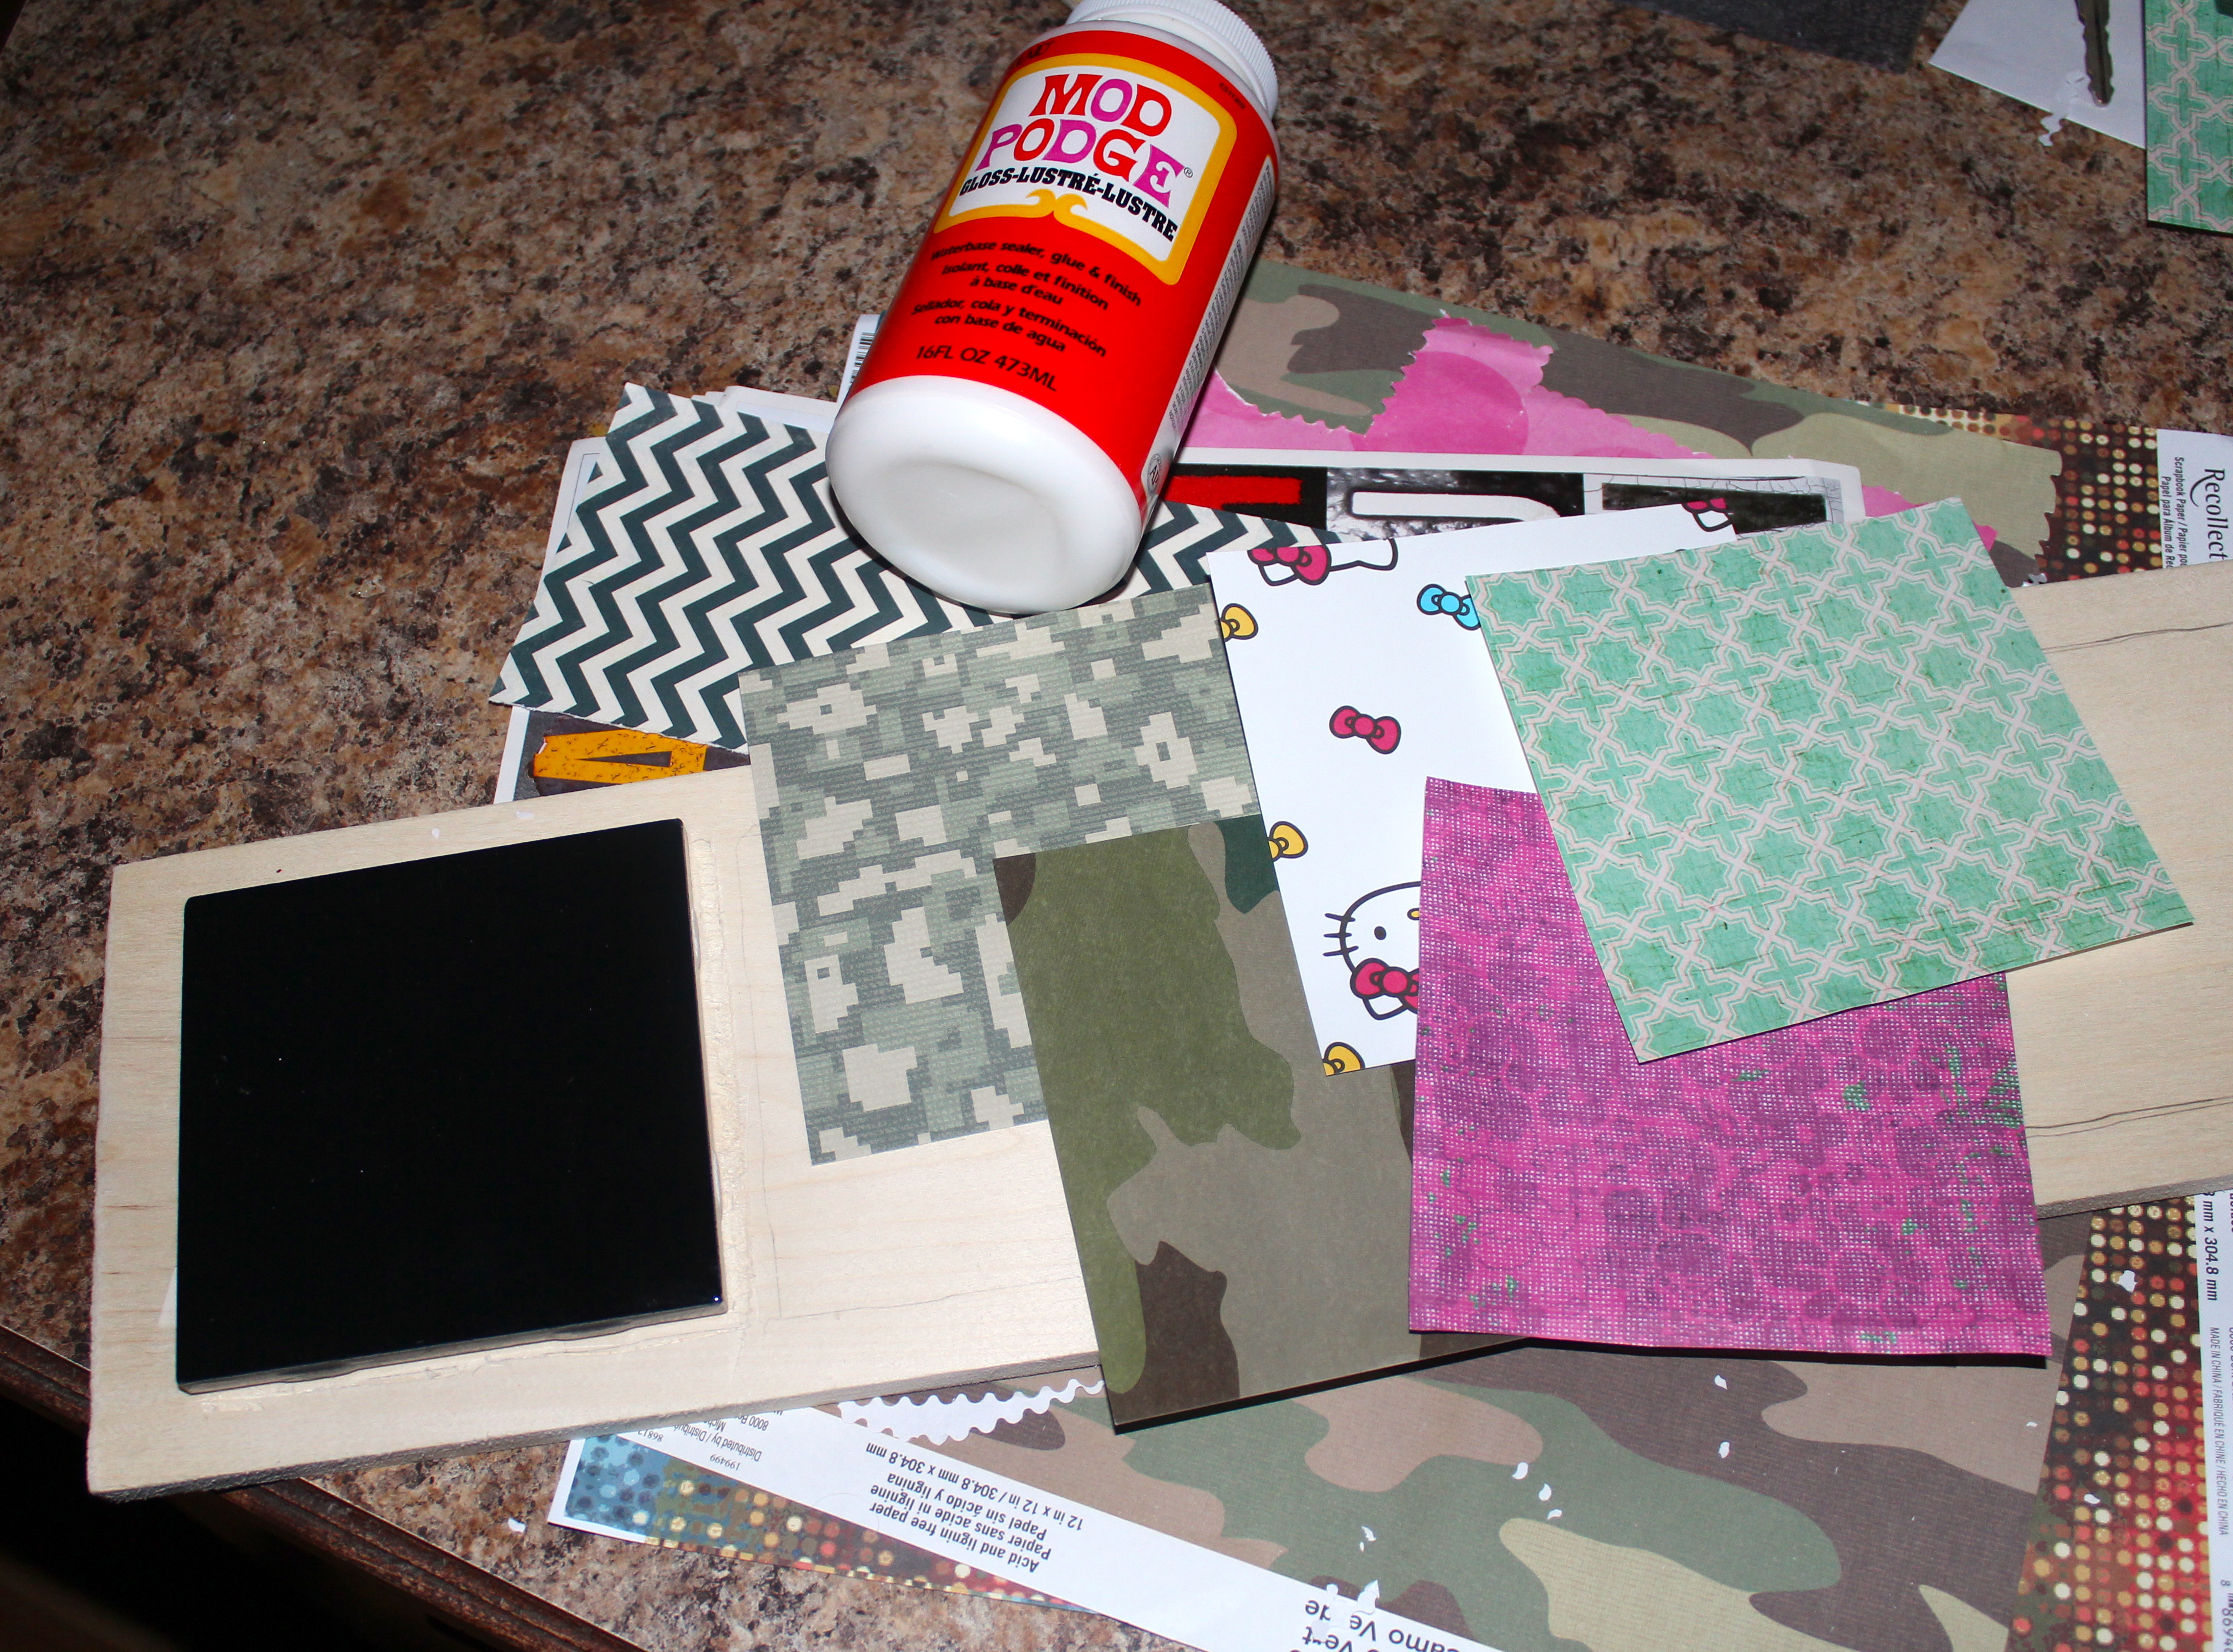
Wood – I grabbed a piece of unfinished birch from Lowe’s for $2.99 that was 1″x 3′ x 24′, but really any old piece of wood would do if it was long enough.
Ceramic tiles – I got mine at Lowe’s and used black ones as they were $.31 versus $.85 for the creme color and I knew I’d be modpodging over them anyway.
Scissors
Scrapbook paper
Mod podge
Stain or paint – I used Rustoleum Ultimate Wood Stain in Dark Walnut
Wood Glue
4 Wooden Split balls
2 Handles
E-6000 glue
The instructions are pretty easy. Once you find yourself a piece of wood that is long enough to accommodate the amount of tiles you’ll need for your family members.
NOTE: No matter where you get the wood, make sure it’s as straight as possible so that it will sit evenly on the counter. If the wood has any sort of unevenness to it, it won’t sit straight when you add the wooden split balls to the bottom.
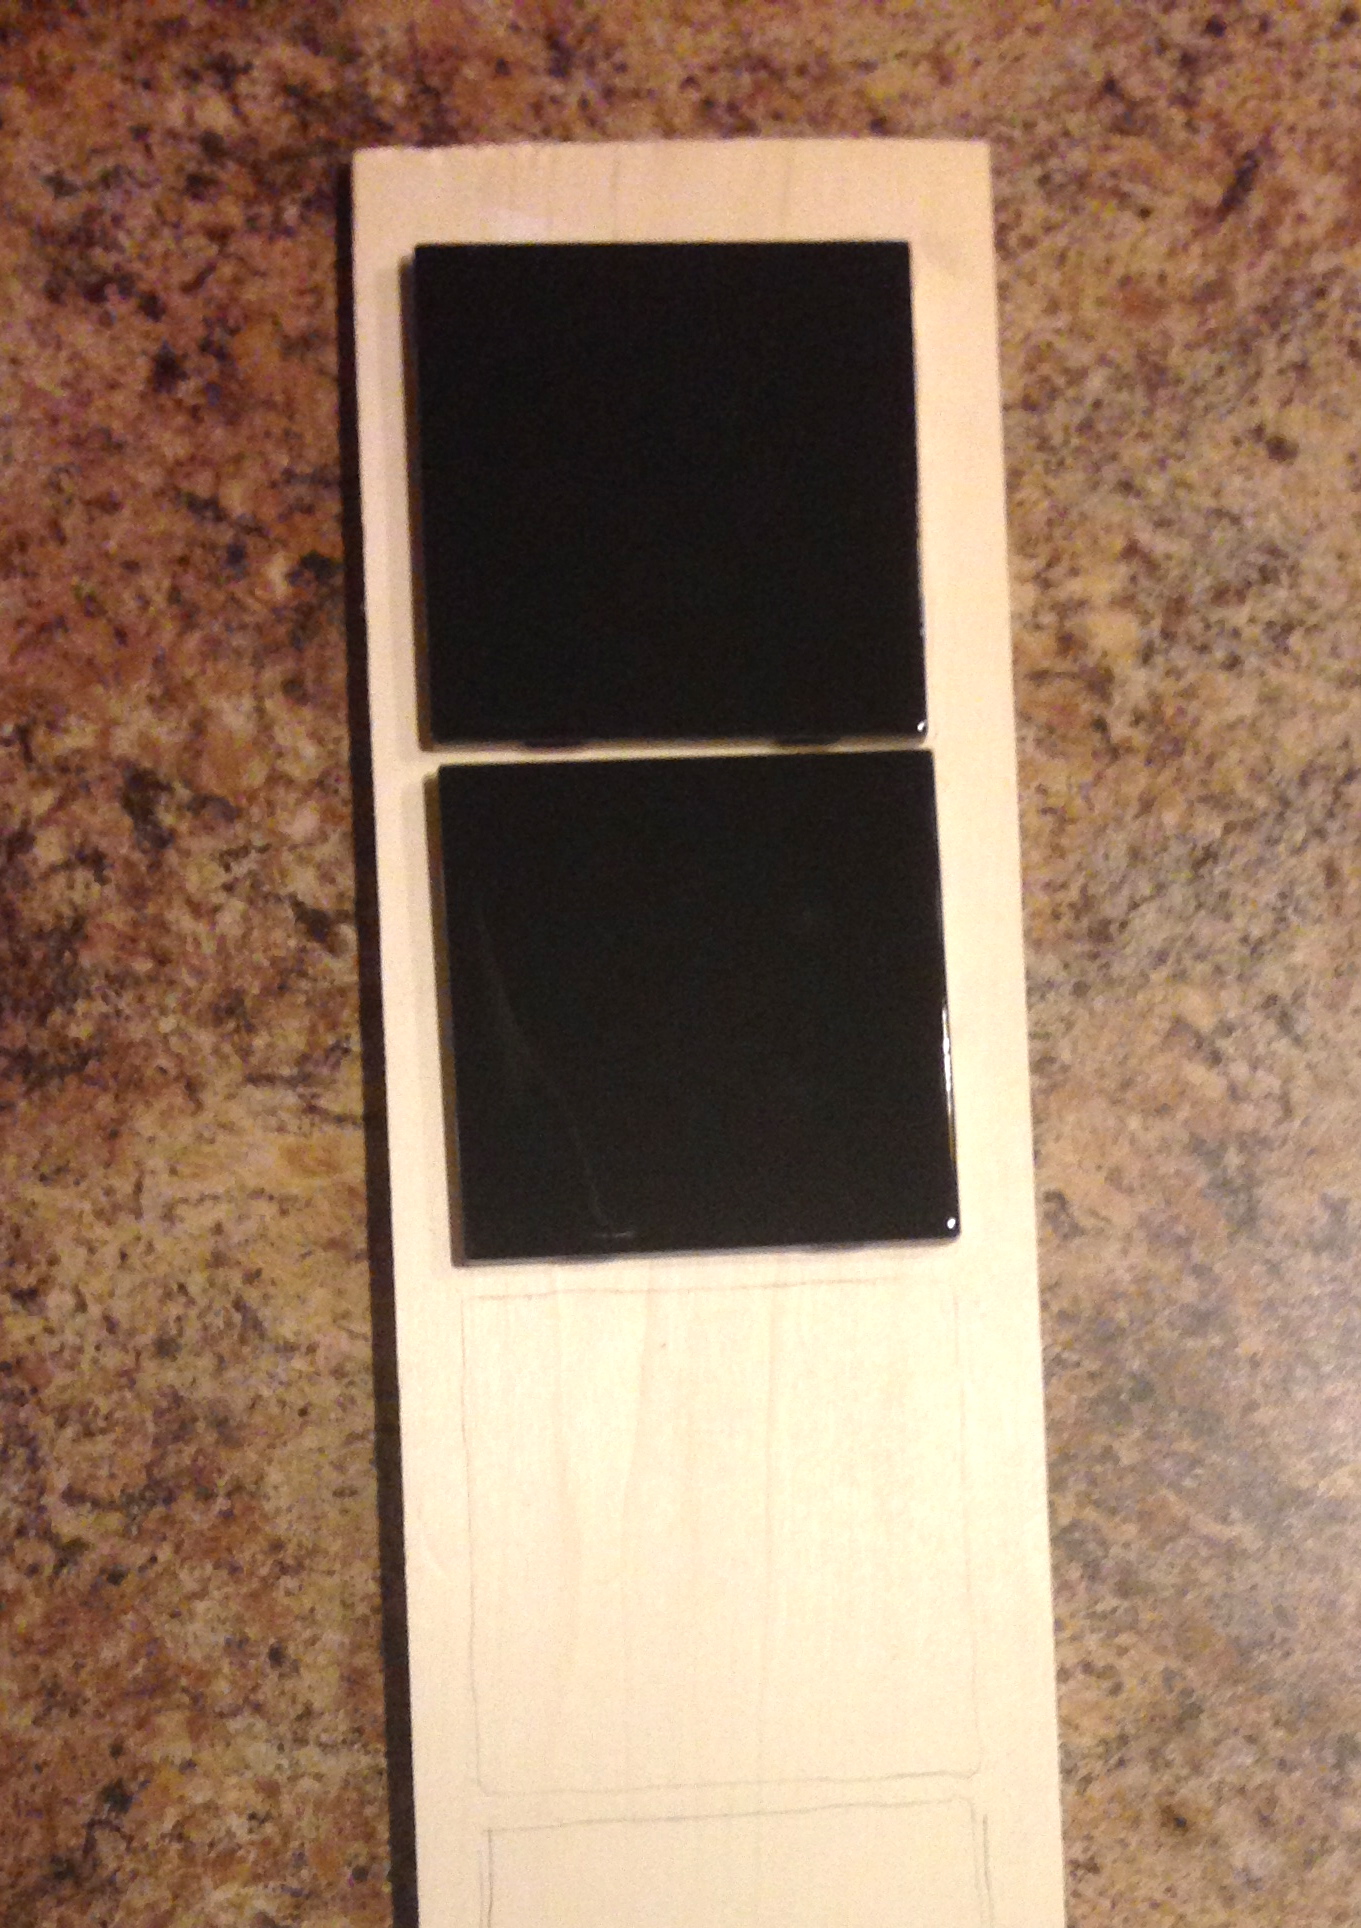
Before I stained my board (or you could paint it) I laid my tiles out and traced them with a pencil so I would know where I wanted to glue them back on. I wanted the spacing to be right.
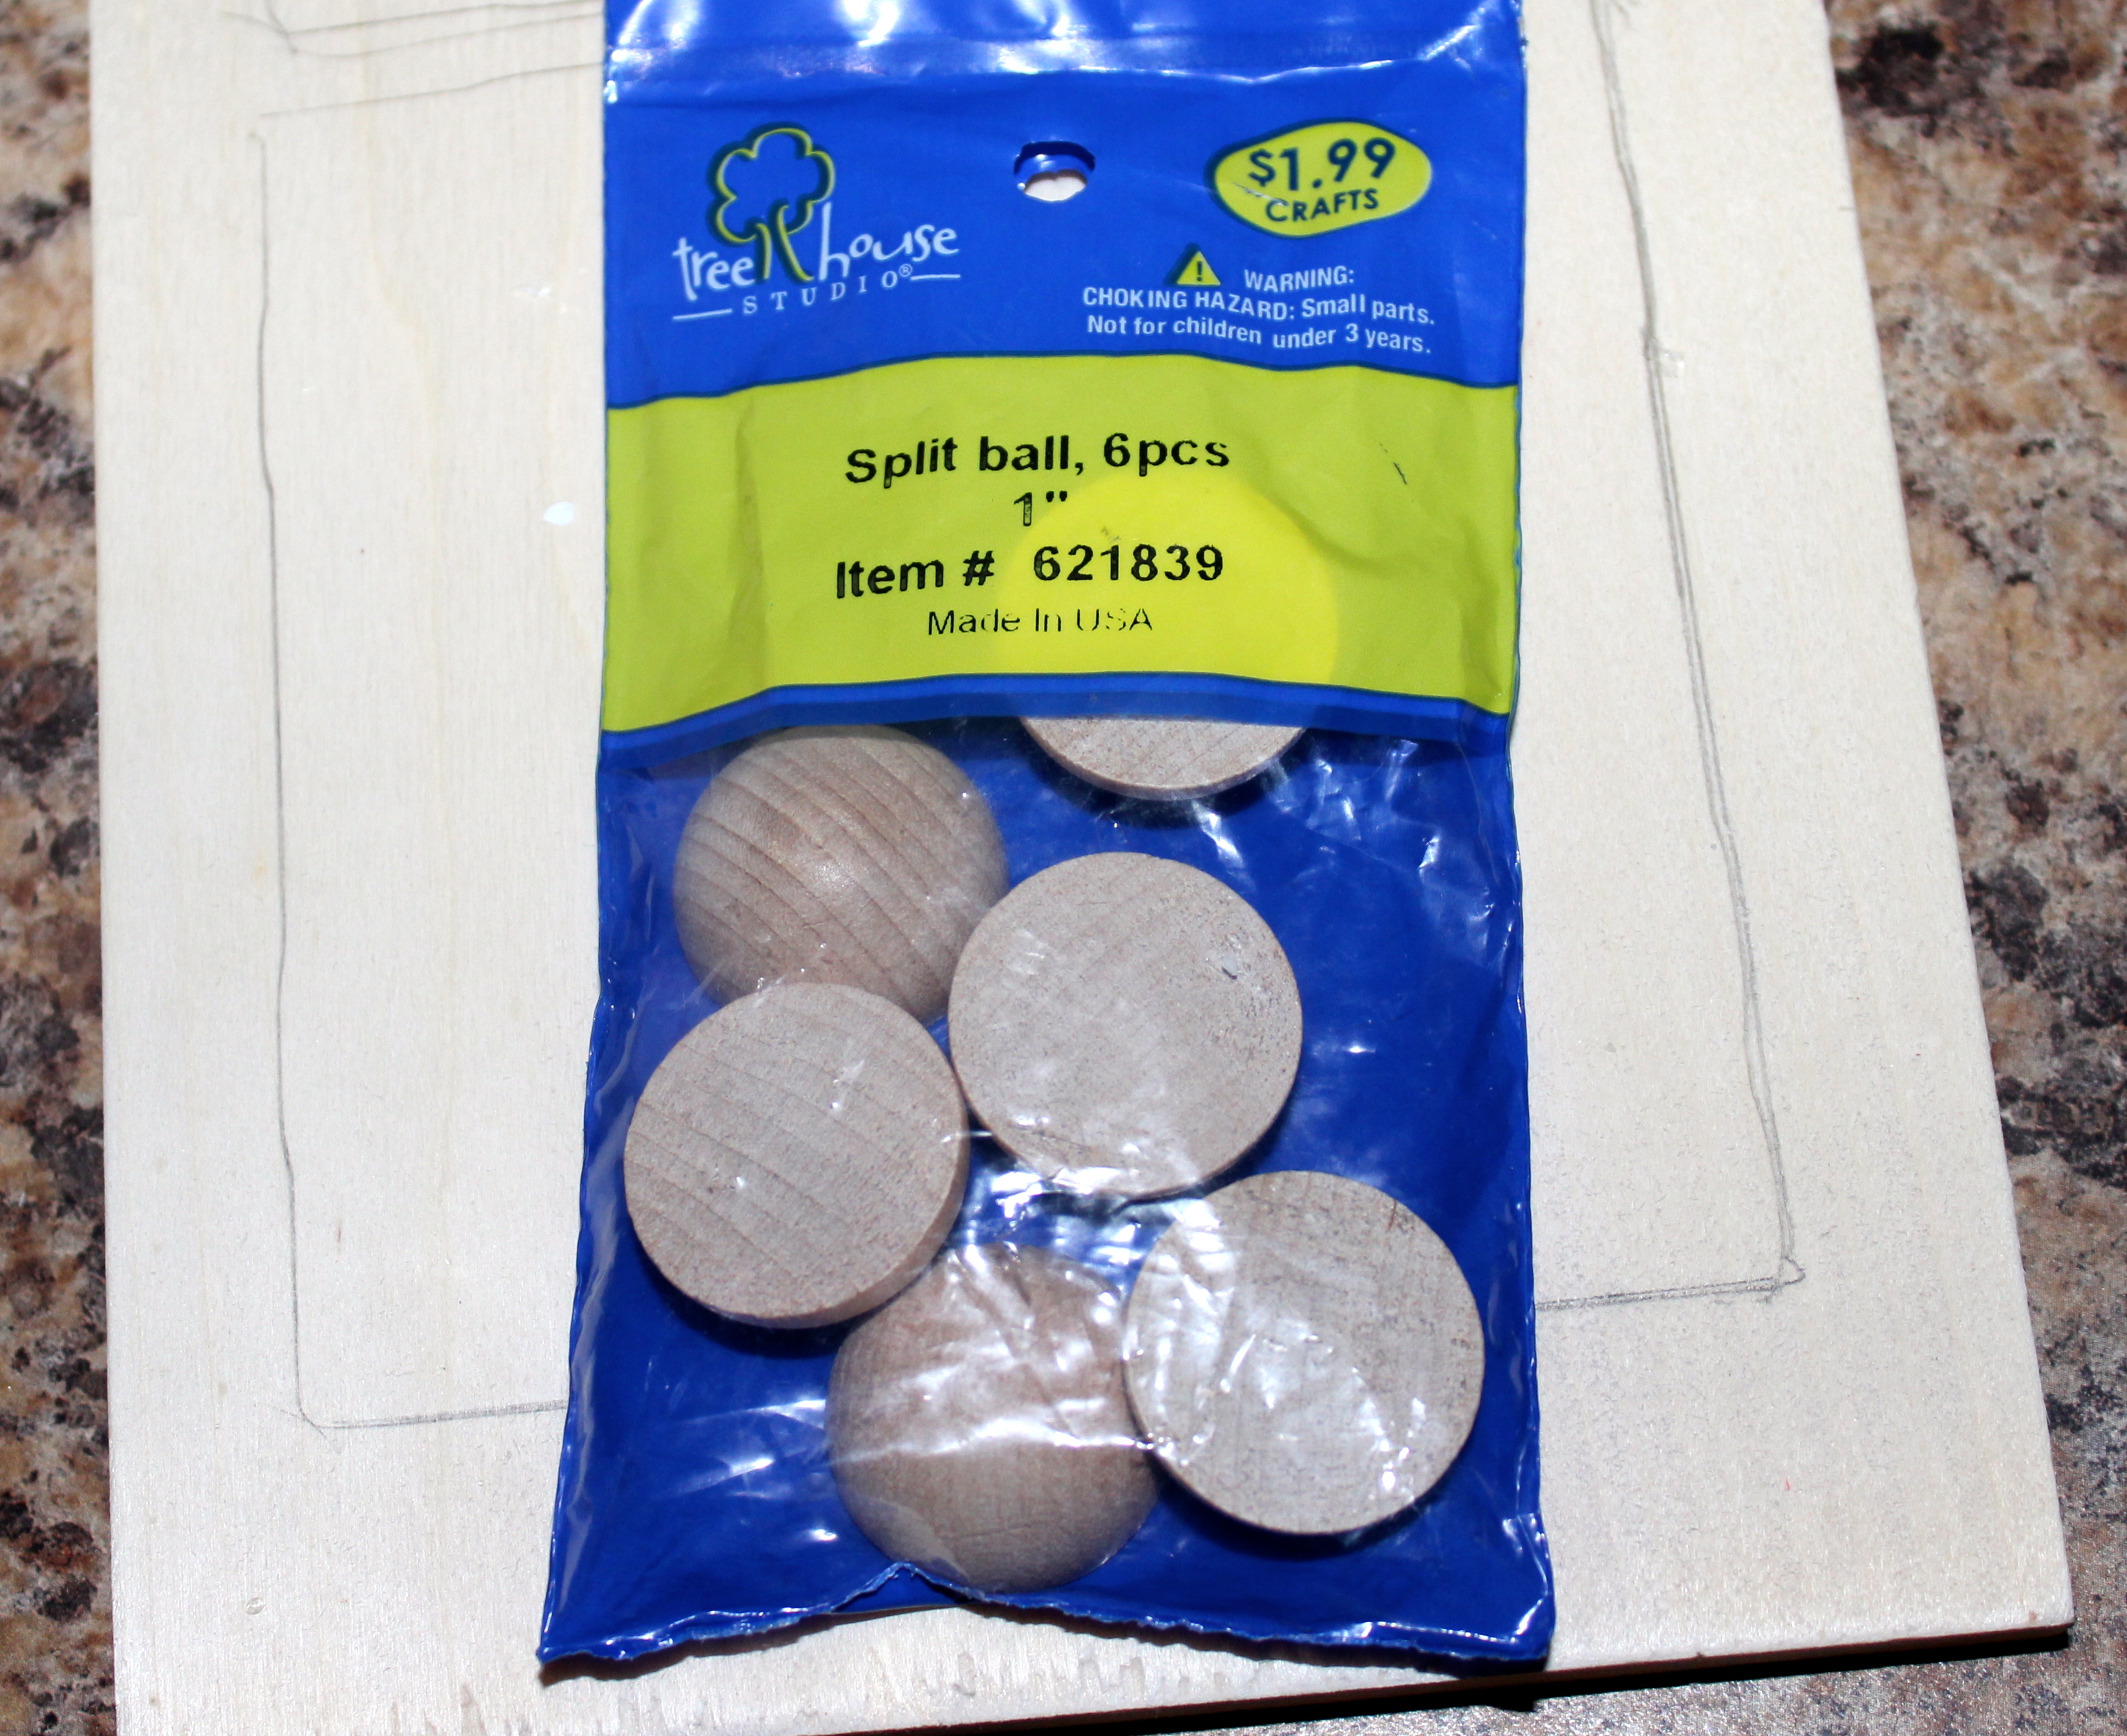
I also glued the wooden split balls on the bottom using a little wood glue, one on each corner to give the tray some height off the counter.
NOTE: Make sure to glue these far enough in from each edge that you have enough room to screw in handles if you are using them. Give yourself a good inch or two depending on the size of your handles and if they are the kind that screw in from the bottom rather than the top.
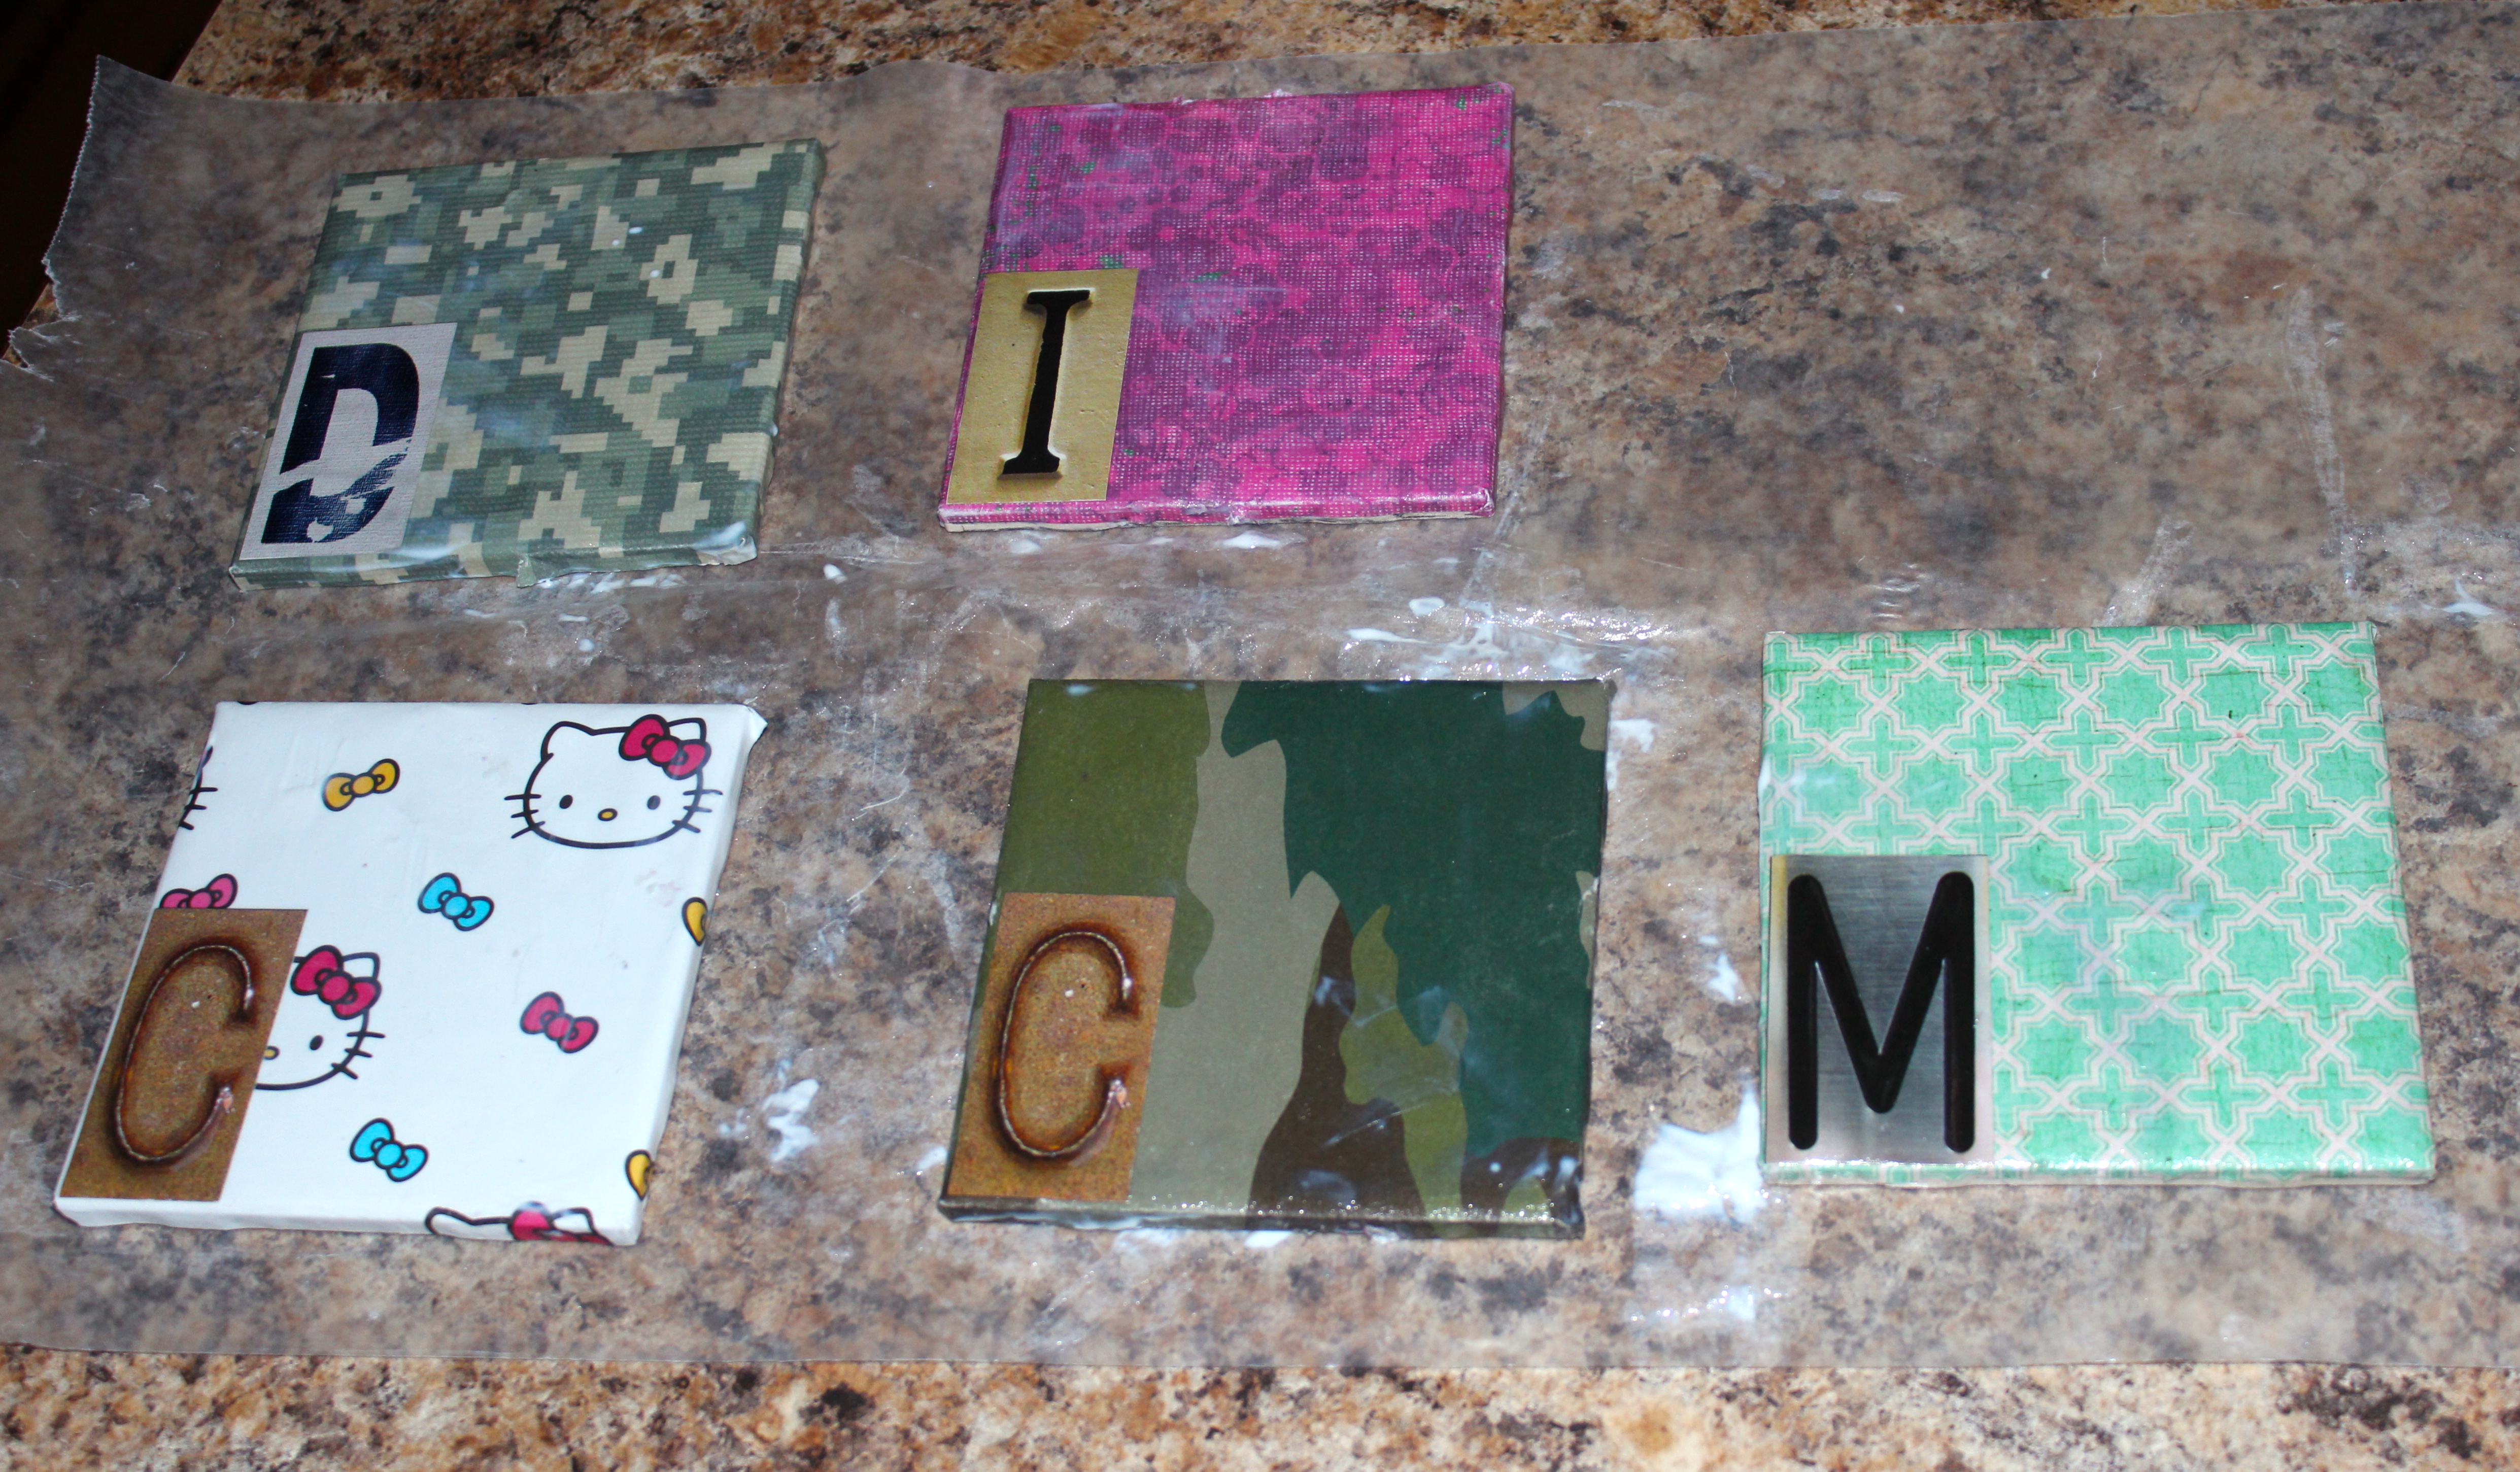 Next, while the stain was drying, I got an array of scrapbook paper and let the kiddos choose which one they wanted for their coaster. I figured they might be more apt to use they tray if they had a say in what it looked like.
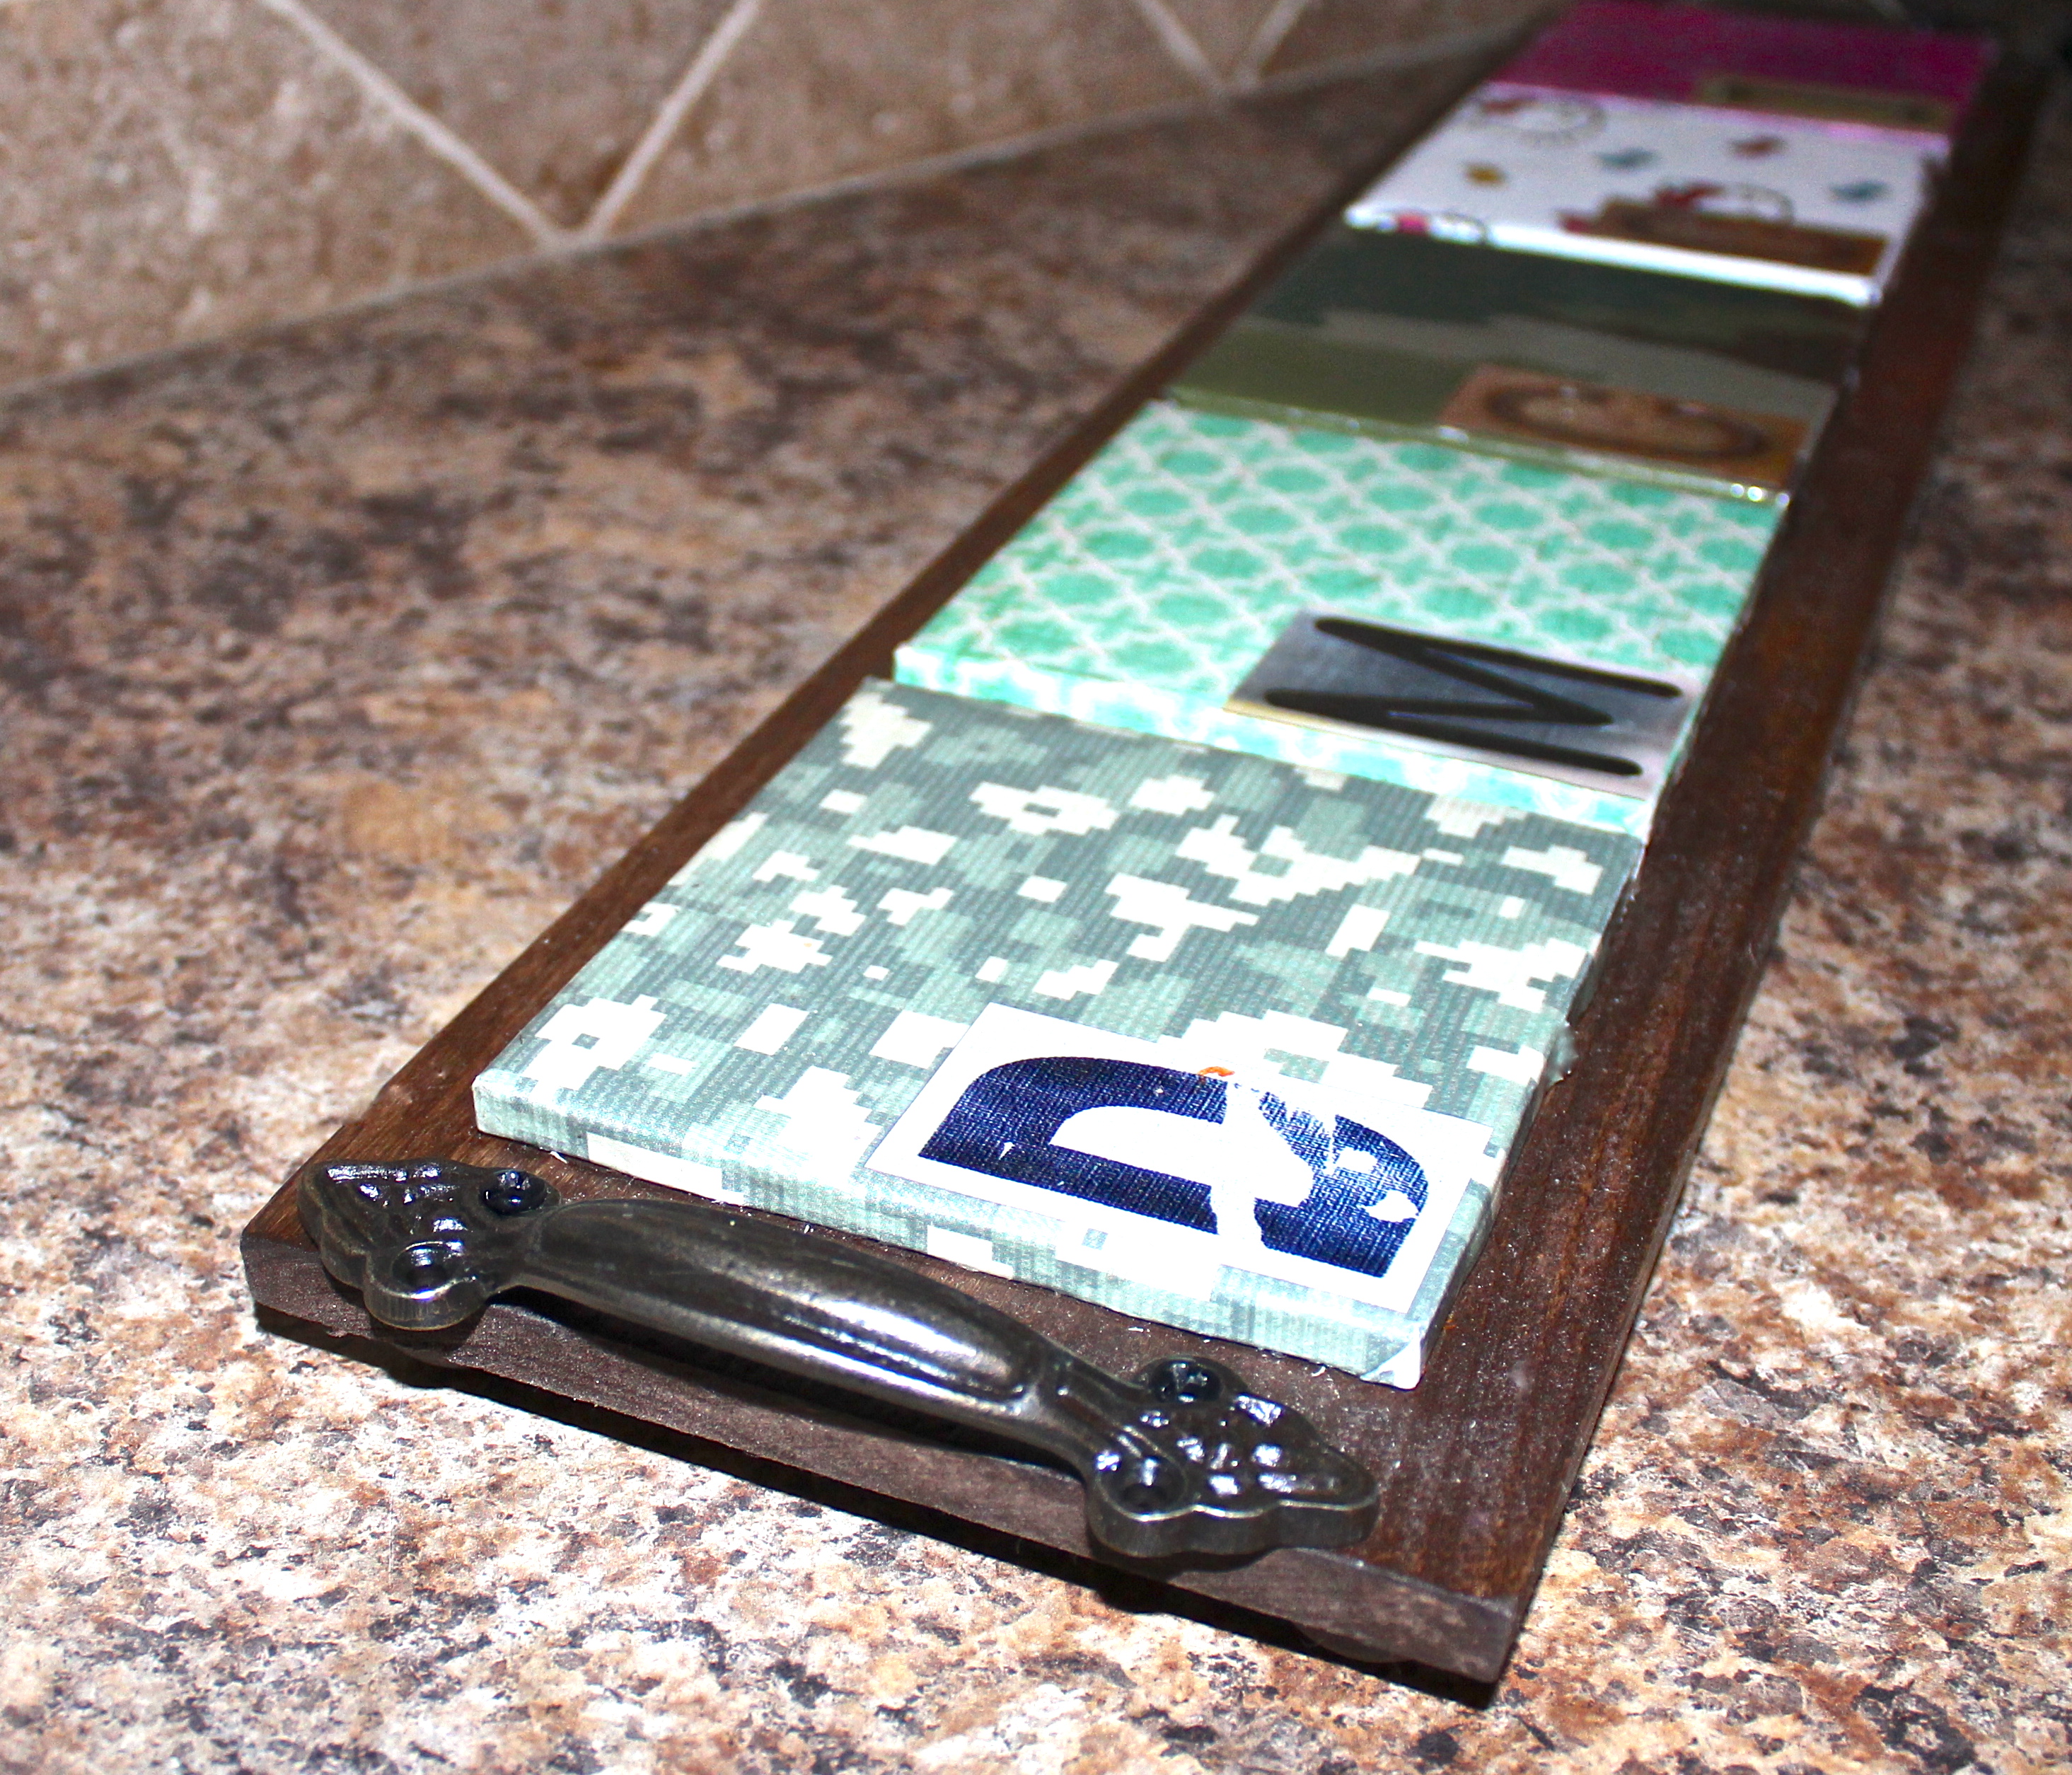
I cut the scrapbook paper into squares big enough to cover the tiles, including the sides and just mod podged them on. I also added a sticker with each persons initial, just to ensure that NO ONE GOT CONFUSED as to which one was theirs.
Once everything was dry, I glued the tiles onto the wood using E-6000 glue, in order of birth (because I’m weird like that) and added my handles. I couldn’t bring myself to use the $4 handles that Cella Bella wanted me to use and I went with the $1.37 ones instead.
NOTE: Buy your handles ahead of time and measure how much room you’ll need for them before you glue your tiles on. I didn’t do this and I had to screw them on with the edge of the handles hanging off a little. I need to plan a little better sometimes!
Anyway, here’s the finished tray:
Now, I just need to make sure the family uses it.
Just think of all the dishwashing associated time I’m about to save. I should be sipping coffee and eating bon bons in no time,
Summer

I FINALLY get it…D for Dad and M for Mom! 🙂 cool project! Love them all!
Thanks Angie. I have to say it’s actually working. The kids are getting used to using it and I am seriously washing less dishes, well cups anyway. Thanks for your comment. Hope to see you in April 🙂
Love it
Thanks 🙂