Simple DIY Burlap Flower Initial Wreath
Well, sometimes I guess Try it Tuesday’s have to be done remotely. I had seen a picture of a simple initial wreath with burlap flowers that Tabitha and I both liked but we just couldn’t get together because my kids kept getting sick.
I think it’s their plan to keep my craftiness down.
I’m just saying…
Anyway, I bought the letters, gave Tabitha her supplies, and we figured we’d make them on our own and then we’d compare.
It really is a quick and easy initial wreath to make. I can’t find the source of the photo found on Pinterest to link back to, but here is where you can see the picture I originally pinned.
Here are the supplies we used:
- Wooden initial from a craft store (with coupon or 50% of course)
- Spray or acrylic paint (your choice)
- Black permanent marker
- Wire or twine
- Vaseline (or some similar substance)
- Drill (for the wire or twine to go through)
- Fine to medium sandpaper
- Burlap (or some other fabric of your choice for the rosette flowers)
- Glue gun
Ok, first thing I did was drill my holes. I did that because usually I forget to do that sort of thing until the last minute and I wanted to be on the ball this time. Depending on your letter, you will have to decide where and how you want to place them.
Next, I spray painted my “S” initial a cream color and left it out on a painters cloth in the driveway to dry.
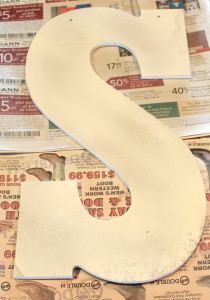
Approximately one minute later in blew about ten feet away and got a little scratched up.
Neat.
Luckily, this was okay because I had already decided I was going to use the old vaseline technique to “distress” it a little, so the bottom coat was going to get painted over anyway.
When it was dry, I coated it with a very thin layer of vaseline. We’re not talking gobs here, just a thin layer. The more you put on, the easier the second layer of paint is going to come off, so depending on how distressed of a look you are going for, go for it.
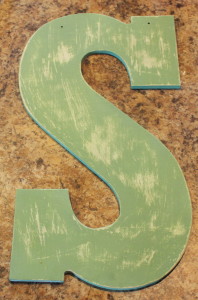
After my initial was nice and shiny I painted it green with some acrylic paint. You could spray paint it as well (my usual preference but I didn’t have any green on hand).
I let the second coat dry and then I started to lightly sand it in spots where I wanted to rough it up. Here’s what it looked like.
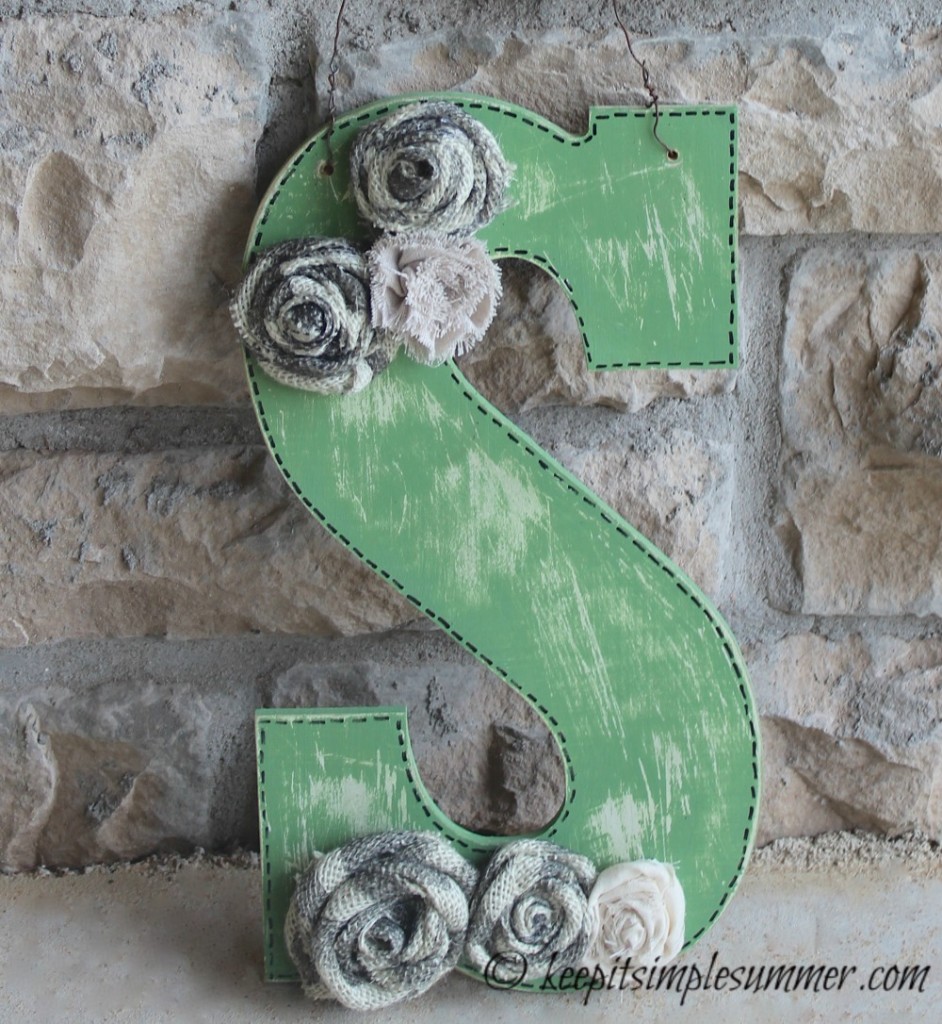
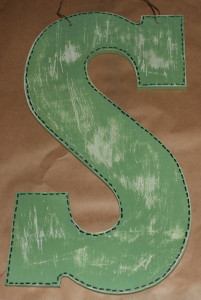
Then I used my marker to add little stitch marks around the edges of my letter.
I used some leftover burlap to make the burlap flowers and added a beige flower I had from some hairbands I made for the girls (which they never wear, boo hoo). If you don’t know how to make a burlap flower or rosette, there are a lot of great tutorials on Pinterest. One that is short and simple is here on Joy of Decorating.
I placed them where I wanted, used my glue gun to attach, and called it done.
Or so I thought.
Now for full disclosure….when I started to take a picture of the finished wreath, I realized that I had drilled the holes and put the flowers on the “S” upside down.
What a dork.
Initially I thought the “S” was the same shape either way, but it wasn’t.
Oops.
So, my wreath has a few extra flowers to hide the first set of holes.
I’m just pretending I wanted it that way.

Now for Tabitha’s “R”.
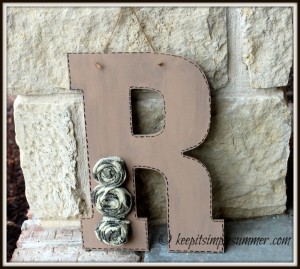
She followed most of the same steps except she spray painted her letter brown first. Then, after it dried she hit it with a coat of cream color. She didn’t use Vaseline or distress.
She used a permanent marker for the stitch marks, made her burlap flowers and glued them on with her glue gun.
After drilling her holes and adding twine so she could hang it, she was finished.

Apparently, she got it right the first time.
I guess we would need to be a little worried about her if she got her “R” upside down.
Oh, almost forgot, the reason that we didn’t stencil “Welcome” or something similar on the initial, like in the original picture, is because we both already have other front porch decor that says “Welcome”. We didn’t want to duplicate but I do think it would be a nice addition to the wreath.
That’s all for now folks, check us out next Tuesday when we make “Toilet Fizzers“ and “Hot Buttered Rum” mix . It’s still pretty cold and a warm drink is always tasty.
See you soon,
Summer and Tabitha