It’s always fun to decorate for each season or holiday.
With this crazy Winter, and then a couple of warm days, Tabitha and I wanted to express our optimism for continued warm weather by decorating for Spring.
We always have big hopes for Try it Tuesdays and think we can get two or three crafts done.
Lame.
Usually we barely finish one.
Things always take longer than we expect (probably because we spend too much time talking and laughing). This Tuesday was the exception.
We actually got our DIY Spring Banners and DIY Spring Mason Jars done all in one Tuesday afternoon.
Somebody call Ripley’s!
If you want to see how we made our Spring Mason Jars, click here.
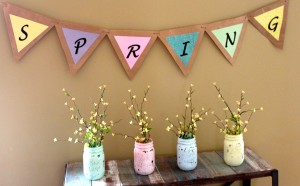
For the Spring banner, we wanted to do a burlap look, but were smart enough (barely) to know we didn’t have that kind of time.
Instead we opted for something that looks like burlap from far away, but is much easier………..paper bags.
To make this banner, all you need are some paper bags, scrapbook paper, glue, marker, and stencils or a printer.
Here’s how we made our banners:
- Cut an outer triangle template. We used a triangle the size of 9″ across the top and 9.25″ for the sides. Trace and cut the number of triangles you will need from paper bags. (We both request paper bags when we go shopping rather than plastic. We use them to put our recycling in, as well as for craft projects. It’s earth-friendly and we don’t end up with a million plastic bags engulfing the kitchen.)
- Next, cut an inner triangle template. We used a inner triangle the size of 6″. Trace and cut the number of triangles you will need from scrapbook paper and glue them onto your outer triangles. Make sure the top of the triangle is the shorter, 9″ side.
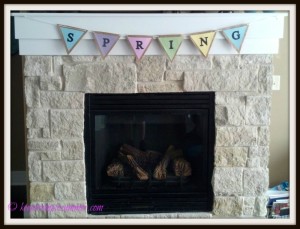
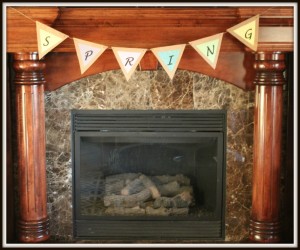
- For the letters, you can use stencils (Tabitha used stencils that were 2″ in the picture with the stone fireplace shown above) or you can print out the letters off your computer, cut them out, and glue them on. I prefer to use the computer because then I can pick the size and font of the letters I want to use. Either way looks good and you can pick whatever color you want your letters to be.
- Finally, use a hole punch to punch a hole in two corners of each triangle and use twine or ribbon to string them up.
You’re done.
BOOM.
Decoration complete.
Now you can move on to vacuuming, laundry, or if you’re really lucky, sitting down with those bon bons we’ve always heard about.
Catch you later,
Summer and Tabitha


